
25 Goddess Braids Hairstyles Ideas That Are Dreamy and So Inspiring
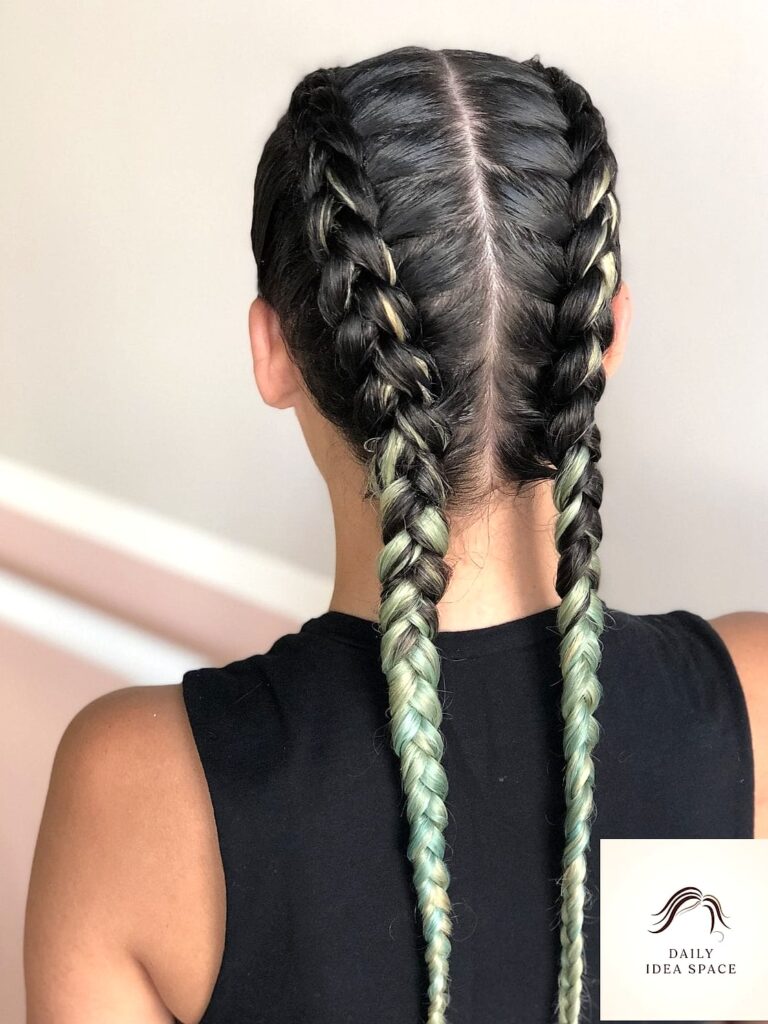
- Classic Cornrow Goddess Braids
- Side-Swept Goddess Braids
- Big Chunky Goddess Braids
- Half-Up Goddess Braids
- Goddess Braids with a Middle Part
- Goddess Braids with Curly Ends
- Feed-In Goddess Braids
- Goddess Braids with Beads
- Bohemian Goddess Braids
- Goddess Braids Updo
- Goddess Braids with Curtain Bangs
- Two-Tone Goddess Braids
- Goddess Braids into a High Ponytail
- Jumbo Goddess Braids with a Deep Side Part
- Goddess Braids with a Fishtail Twist
- Short Goddess Braids Bob
- Goddess Braids with a Bun
- Goddess Braids with Highlighted Ends
- Goddess Braids with a Zigzag Part
- Goddess Braids with Loose Curly Crown
- Goddess Braids Half Bun
- Goddess Braids with Metallic Cuffs
- Goddess Braids with an Undercut Design
- Long Goddess Braids Past the Waist
- Goddess Braids with Face-Framing Pieces
25 Goddess Braids Hairstyles Ideas That Are Dreamy and So Inspiring
Goddess braids have basically taken over every hairstyle inspo board out there, and honestly, it makes sense. They’re bold, they last for weeks, and they somehow manage to look both effortless and intricate at the same time. If you’ve been scrolling through photos trying to figure out which version fits your vibe, you’re in the right place.
Whether you want something sleek and minimal or big, chunky braids that make a statement, there’s a goddess braid style here for you. Let’s get into it.
Classic Cornrow Goddess Braids
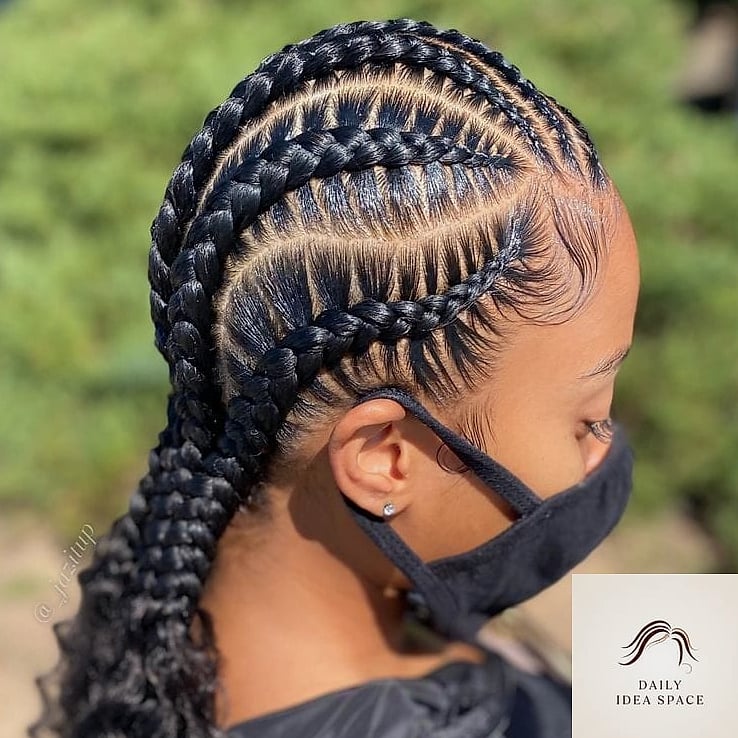
This is the style that started it all. Thick, raised cornrows sweep back from the hairline in clean, even rows. It works beautifully on thick or coily hair and gives your scalp a bit of a break from daily manipulation.
Most people love this look because it’s low maintenance once it’s installed, and it can last three to four weeks with proper care. Wrap your hair at night and moisturize your scalp every few days to keep things fresh.
Side-Swept Goddess Braids
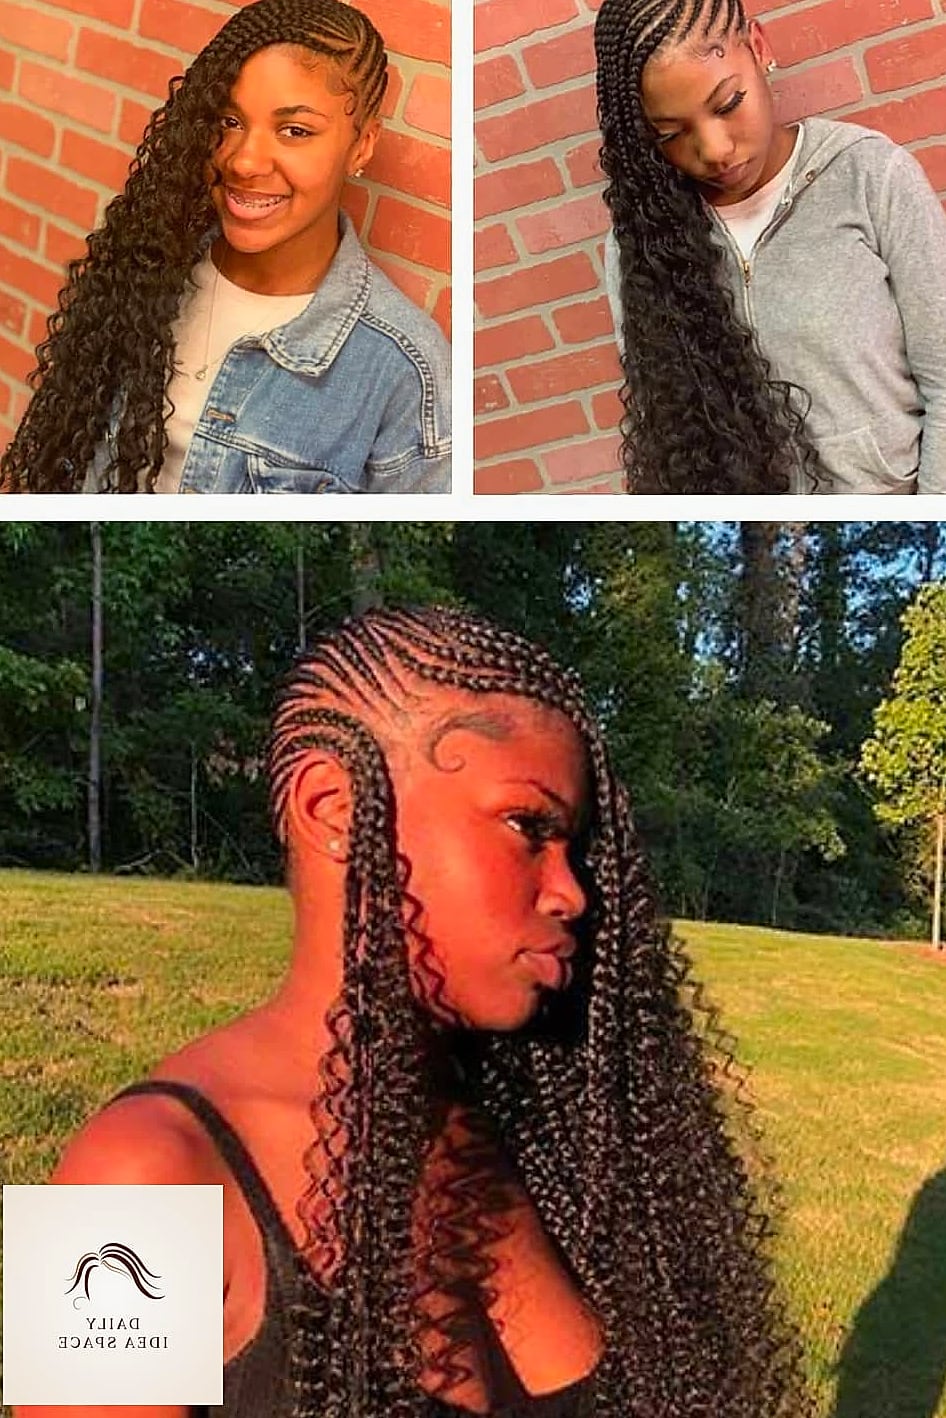
Instead of braiding straight back, this version pulls all the braids to one side for a softer, more romantic finish. It’s a great pick if you have a rounder face shape since the asymmetry adds some visual length.
You can dress this one up with gold cuffs or beads woven into the ends. It photographs incredibly well too, which is probably why it shows up so often in wedding guest hairstyle searches.
Big Chunky Goddess Braids
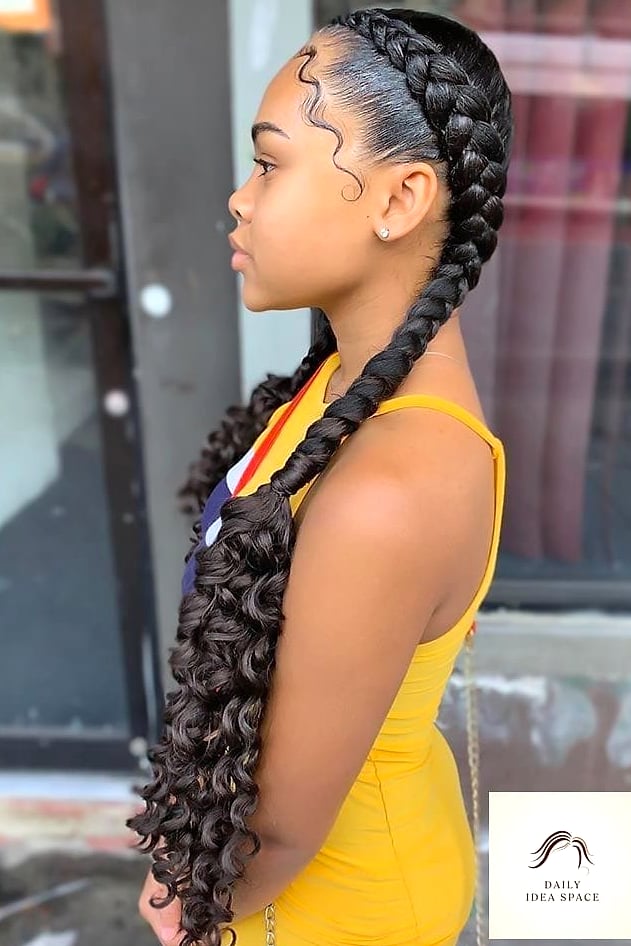
If you want maximum impact with minimal installation time, go big. Thick, oversized braids cut your styling session in half compared to smaller cornrows, and they still deliver that same jaw-dropping texture.
This style suits pretty much any hair type since you’re adding synthetic hair for volume anyway. Just know that chunkier braids put a bit more tension near the hairline, so ask your stylist to keep it comfortable.
Half-Up Goddess Braids
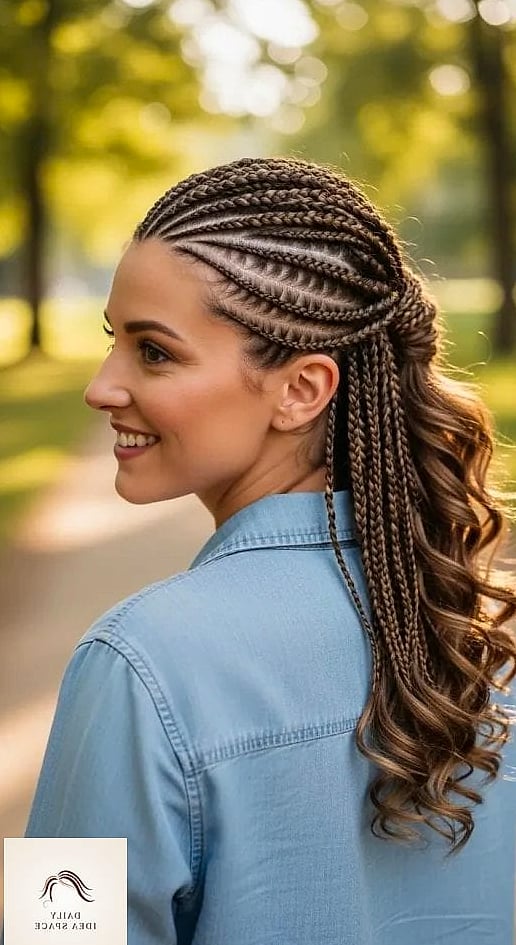
Not ready to commit to a full braided look? This half-up version braids only the top section while leaving the rest of your natural texture loose underneath. It’s a nice middle ground for people who want the goddess braid aesthetic without covering their whole head.
It works especially well if you have gorgeous natural curls you don’t want to hide. Pin the braided section back with a claw clip for an easy everyday look.
Goddess Braids with a Middle Part
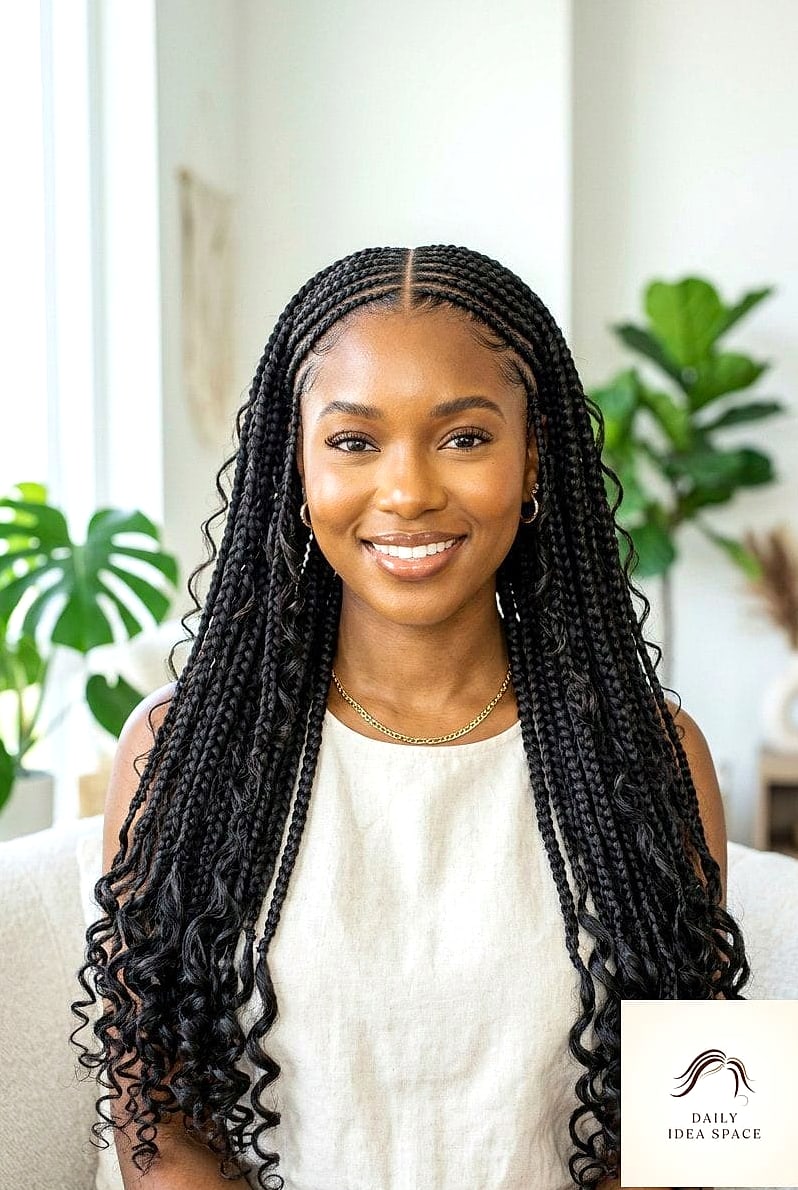
A clean middle part gives this style a more polished, symmetrical feel. The braids fall evenly on both sides, which tends to flatter oval and heart-shaped faces particularly well.
This one leans a little more formal, so it’s a solid choice for graduations, proposals, or any event where you want to look put together without spending hours in front of a mirror.
Goddess Braids with Curly Ends

Instead of braiding all the way to the tips, this style stops a few inches short and lets the remaining hair curl out naturally or with a curling wand. It softens the whole look and adds a playful bounce.
It’s gorgeous on medium to long hair and gives you two hairstyles in one, since the curled ends can be refreshed separately as they lose their shape over the weeks.
Feed-In Goddess Braids
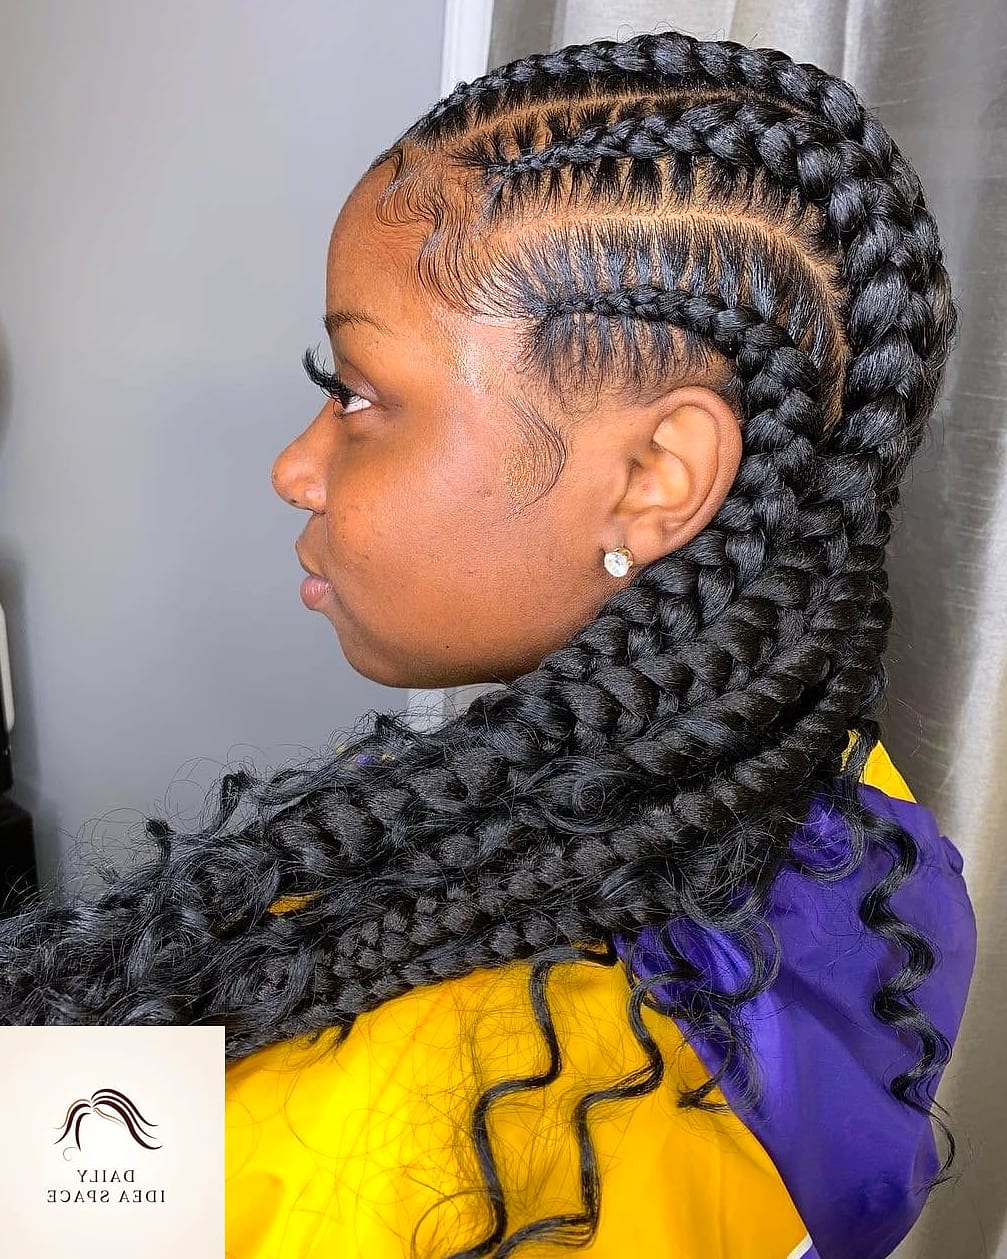
Feed-in braids gradually add extension hair as the braid progresses, which creates a more natural taper at the root. Compared to traditional goddess braids, this technique tends to feel lighter and less tight on the scalp.
Fine or thinning hair actually does well with this method since the tension is distributed more gradually. It’s worth asking your braider specifically for feed-in technique if scalp comfort is a priority for you.
Goddess Braids with Beads

Beads have made a huge comeback, and adding them to the ends of your braids instantly gives the whole style more personality. Gold, wood, or colorful acrylic beads all work depending on the mood you’re going for.
This is a fun option if you want your braids to feel a little more playful or nostalgic. Just keep in mind beads add weight, so your braider might secure the ends a bit differently.
Bohemian Goddess Braids
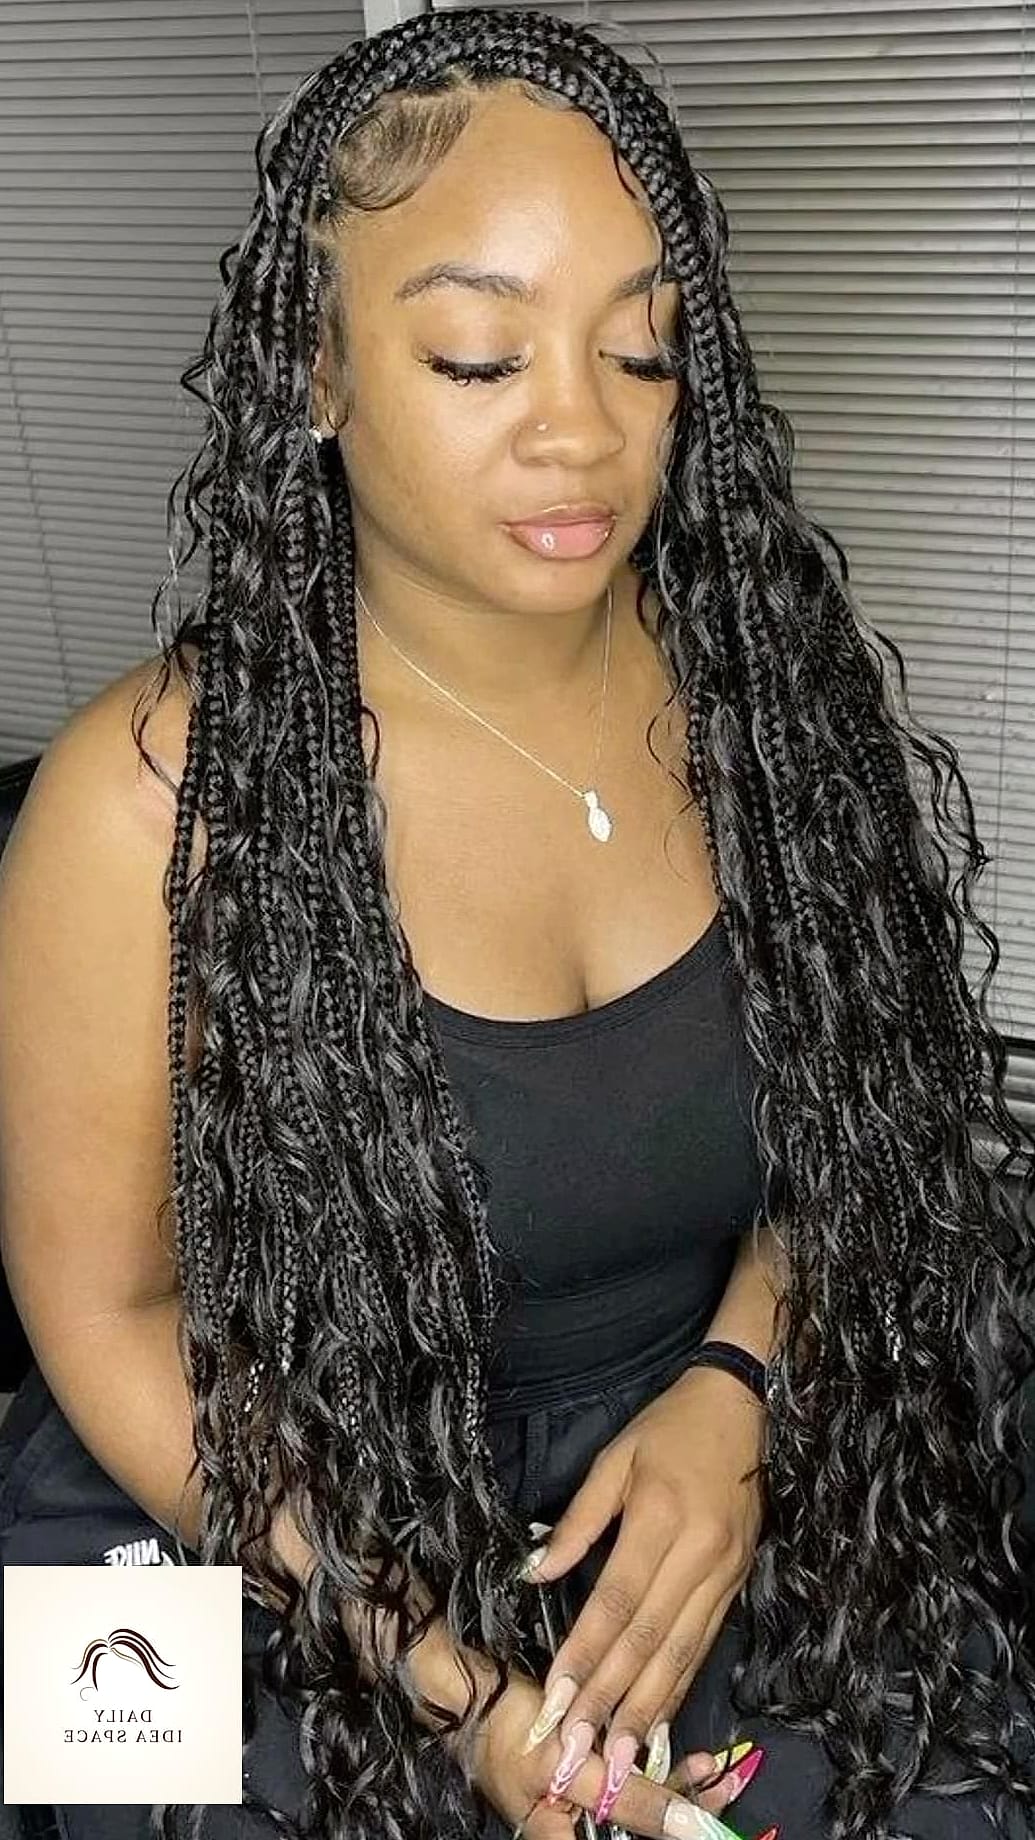
This version pulls in loose, wispy pieces around the face for a softer, undone finish. It’s less structured than classic cornrows and leans into that carefree, festival-ready energy.
Wavy or curly hair textures blend really naturally into this style. It’s a favorite for outdoor weddings and summer events where you want braids that still feel breezy.
Goddess Braids Updo
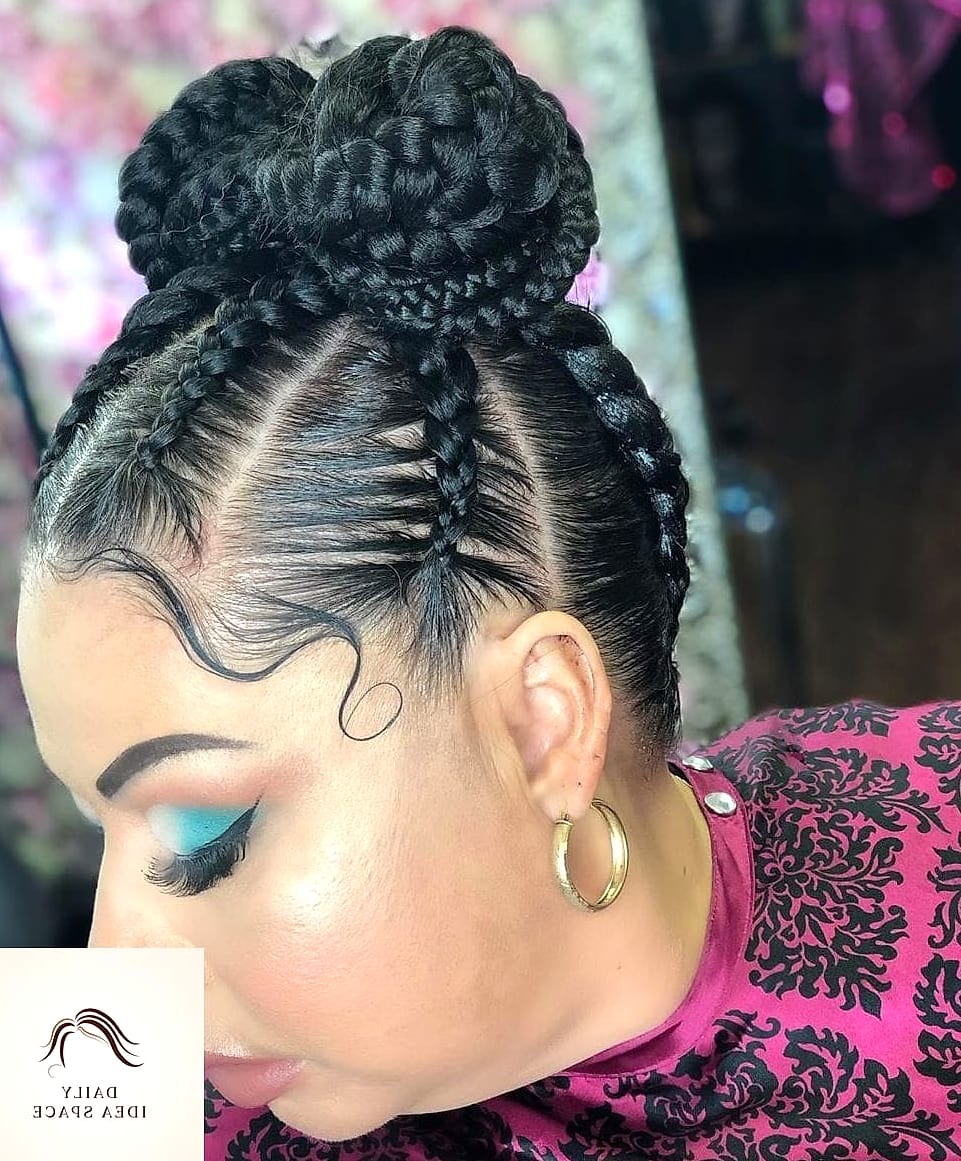
Take your braids and twist them into a bun, ponytail, or coiled updo for an elevated take on the trend. This is one of those styles that looks polished even when you throw it together in under five minutes.
It’s particularly practical for hot weather or workouts since it keeps hair fully off your neck. Secure with bobby pins and a light-hold gel to smooth any flyaways along your part.
Goddess Braids with Curtain Bangs

If you already love curtain bangs, you don’t have to give them up for this style. Leave your front pieces out unbraided and let them frame your face while the rest goes back into goddess braids.
This combo softens the overall look and works especially well for round or square face shapes, since the bangs break up strong angles. Style the bangs with a round brush for that classic curtain effect.
Two-Tone Goddess Braids
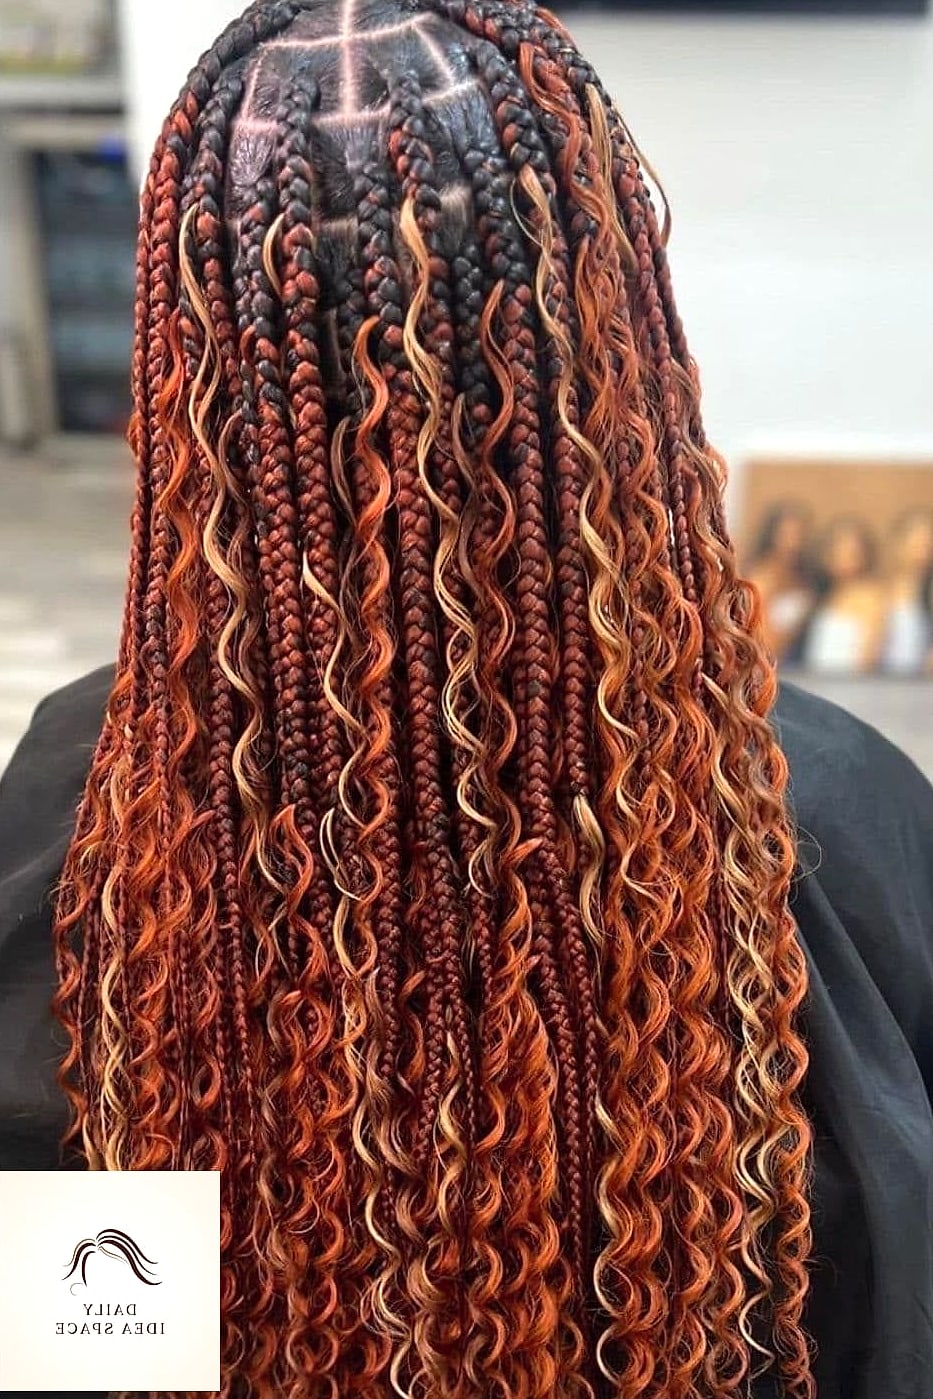
Mixing in a contrasting braiding hair color, like a warm honey blonde against dark natural hair, adds dimension without any bleach touching your actual strands. It’s a low-commitment way to try a bold color change.
This works on any length since the color impact comes from the extension hair itself. It’s a great option if you’re curious about balayage or highlights but aren’t ready for the maintenance.
Goddess Braids into a High Ponytail
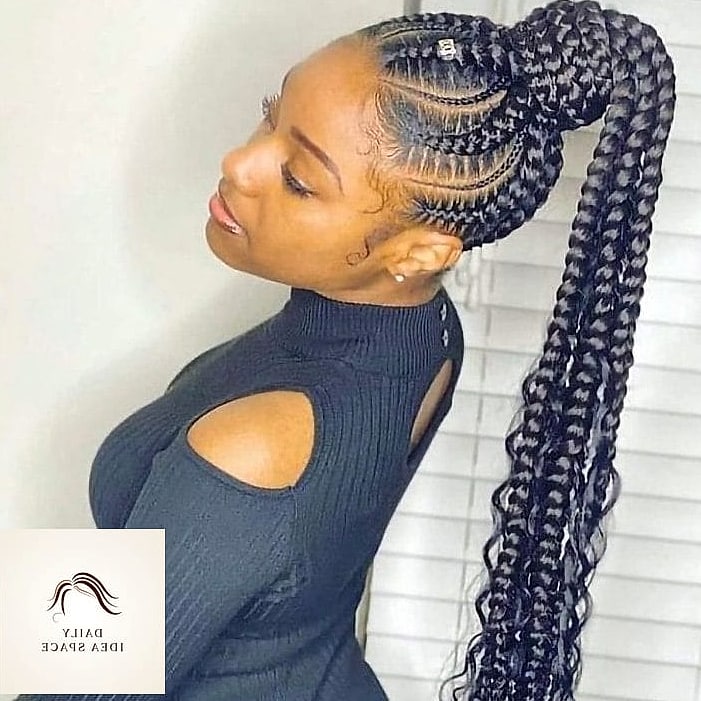
Gathering all your braids into one sleek high ponytail creates instant drama. It’s a favorite for nights out or events where you want a bit more glam than a standard braided style offers.
The high placement also lifts your face slightly, which tends to flatter most face shapes. Wrap a small section of braid around the base to hide your hair tie for a cleaner finish.
Jumbo Goddess Braids with a Deep Side Part
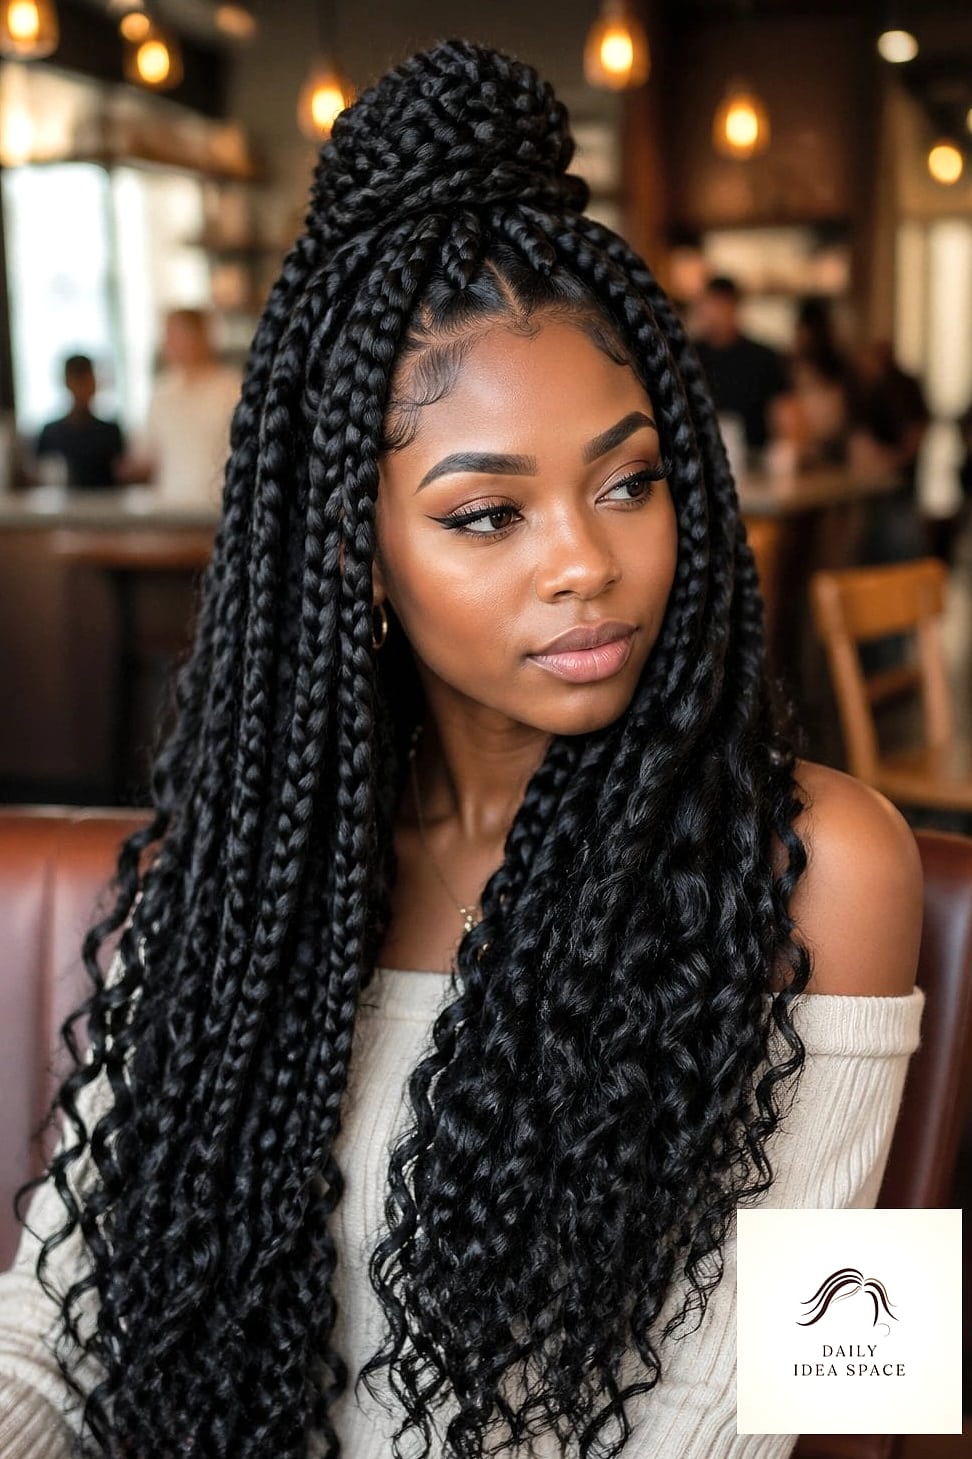
Take the classic jumbo braid and pair it with a deep side part for extra drama near the hairline. The exaggerated part adds movement and gives the style a slightly edgier feel.
This is a striking option for thick hair textures that can support the volume of jumbo extensions. It tends to hold its shape really well too, since fewer, thicker braids mean less overall tension.
Goddess Braids with a Fishtail Twist
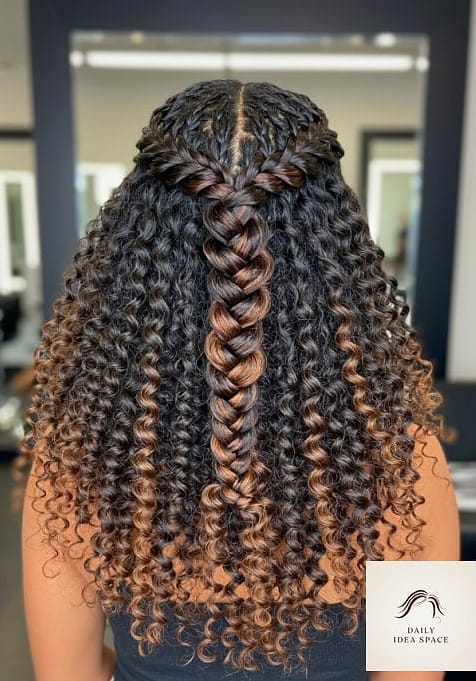
Instead of straight cornrows, this version incorporates a fishtail braiding pattern along the crown before transitioning into the goddess braids below. It adds subtle texture that catches the light nicely.
This one takes a bit more skill to install, so it’s worth seeking out a braider who specifically lists fishtail or lemonade braids in their portfolio.
Short Goddess Braids Bob
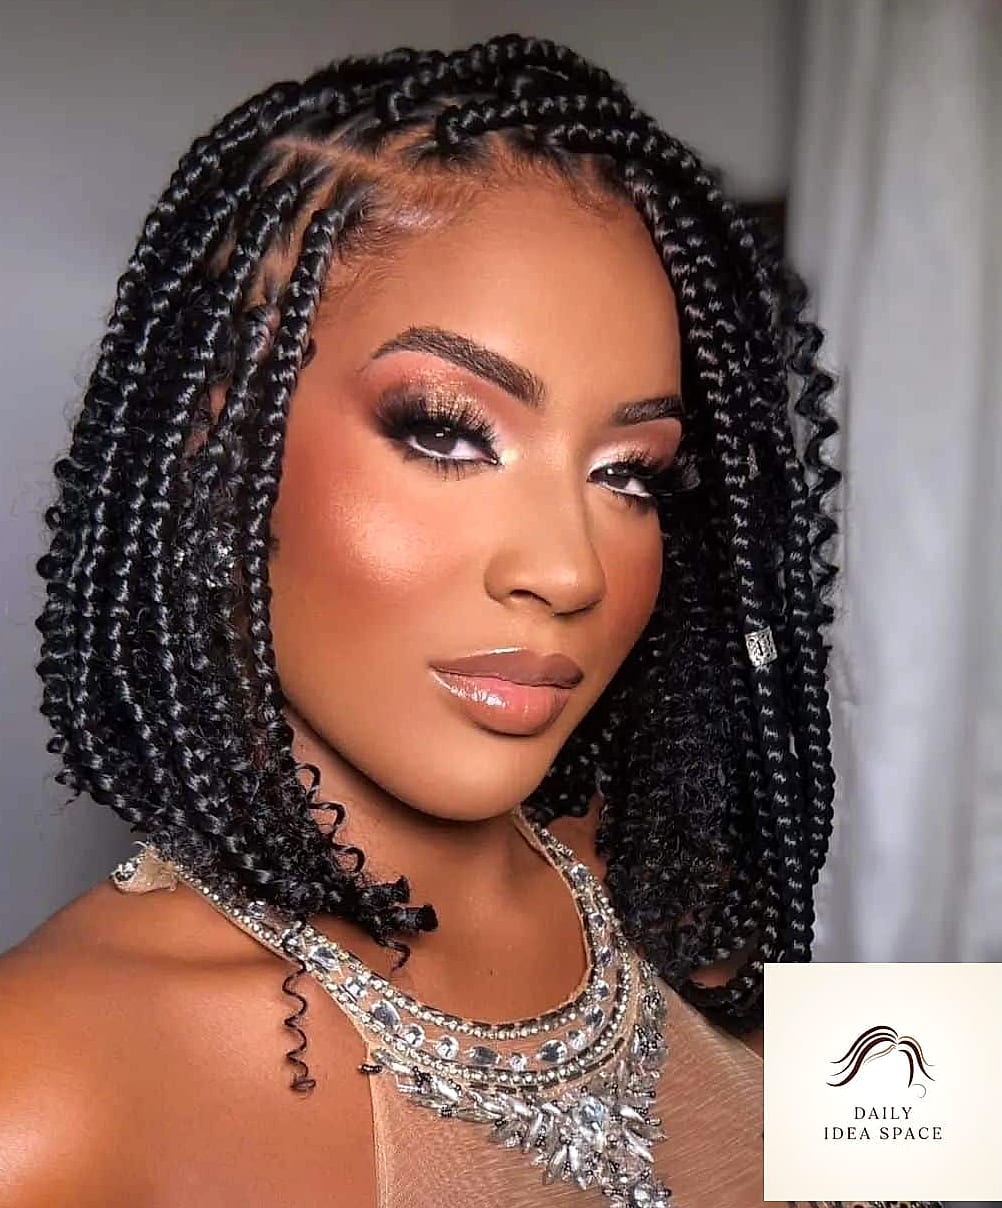
Goddess braids aren’t just for long hair. A bob-length version, cut straight or slightly angled, gives you all the texture and pattern without the extra length or weight.
This is a great low-maintenance option for shorter natural hair, and it tends to feel a bit cooler in warmer months since there’s less hair overall.
Goddess Braids with a Bun

A neat, low bun at the nape gives this style a more refined, office-appropriate finish. It’s tidy, it stays out of your face, and it still shows off all that gorgeous braid pattern up top.
This is one of the easiest goddess braid styles to dress up for work or dress down for the weekend, just depending on how sleek you make the bun.
Goddess Braids with Highlighted Ends

Rather than a full color change, this style adds lighter, sun-kissed tones just at the tips of the braids. It creates a gradual, natural-looking dimension without overwhelming your whole head.
It’s a nice pick if you want a hint of color that still reads as pretty subtle and low-key from a distance.
Goddess Braids with a Zigzag Part
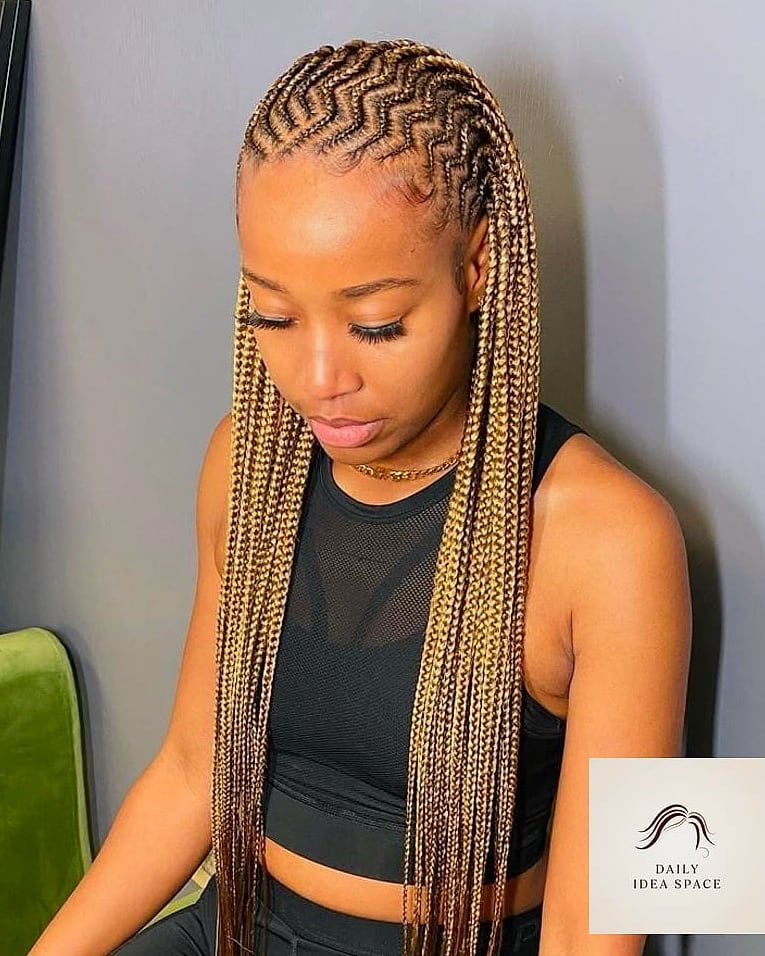
Swap the straight middle part for a zigzag pattern to add a bit more visual interest to the base of your braids. It’s a small detail, but it makes the whole style feel more custom and less cookie-cutter.
Ask your braider to part in small sections for the cleanest zigzag lines, since rushed parting tends to look uneven once the braiding starts.
Goddess Braids with Loose Curly Crown
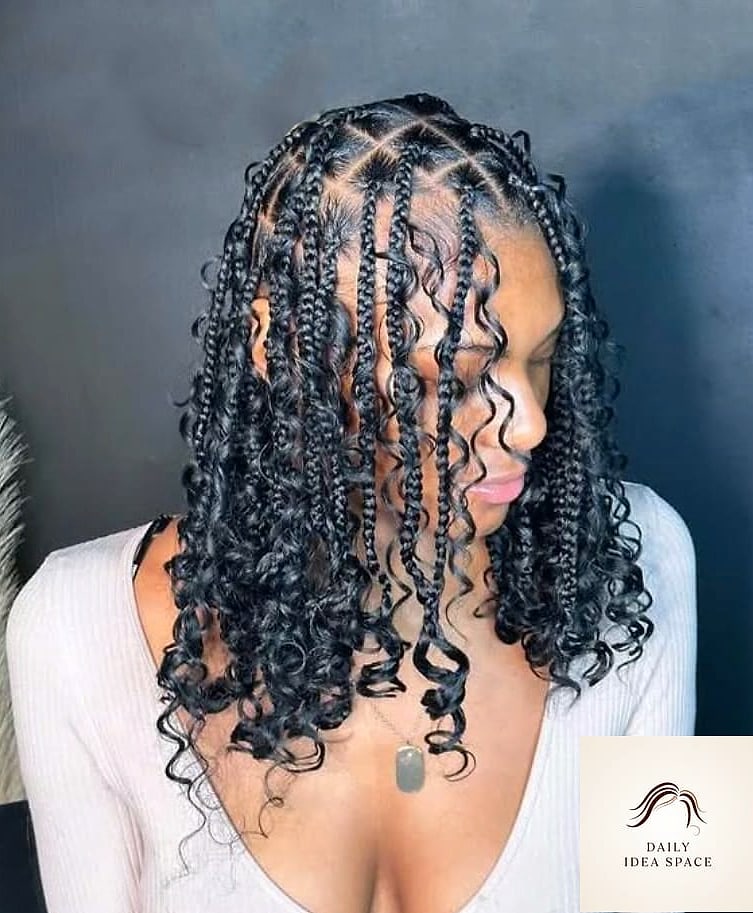
This style keeps the crown section natural and curly while braiding everything from the mid-lengths down. It’s a great way to show off your natural curl pattern while still getting the structure of goddess braids.
Curly girls especially love this one because it doesn’t require flattening or hiding their natural texture at all.
Goddess Braids Half Bun
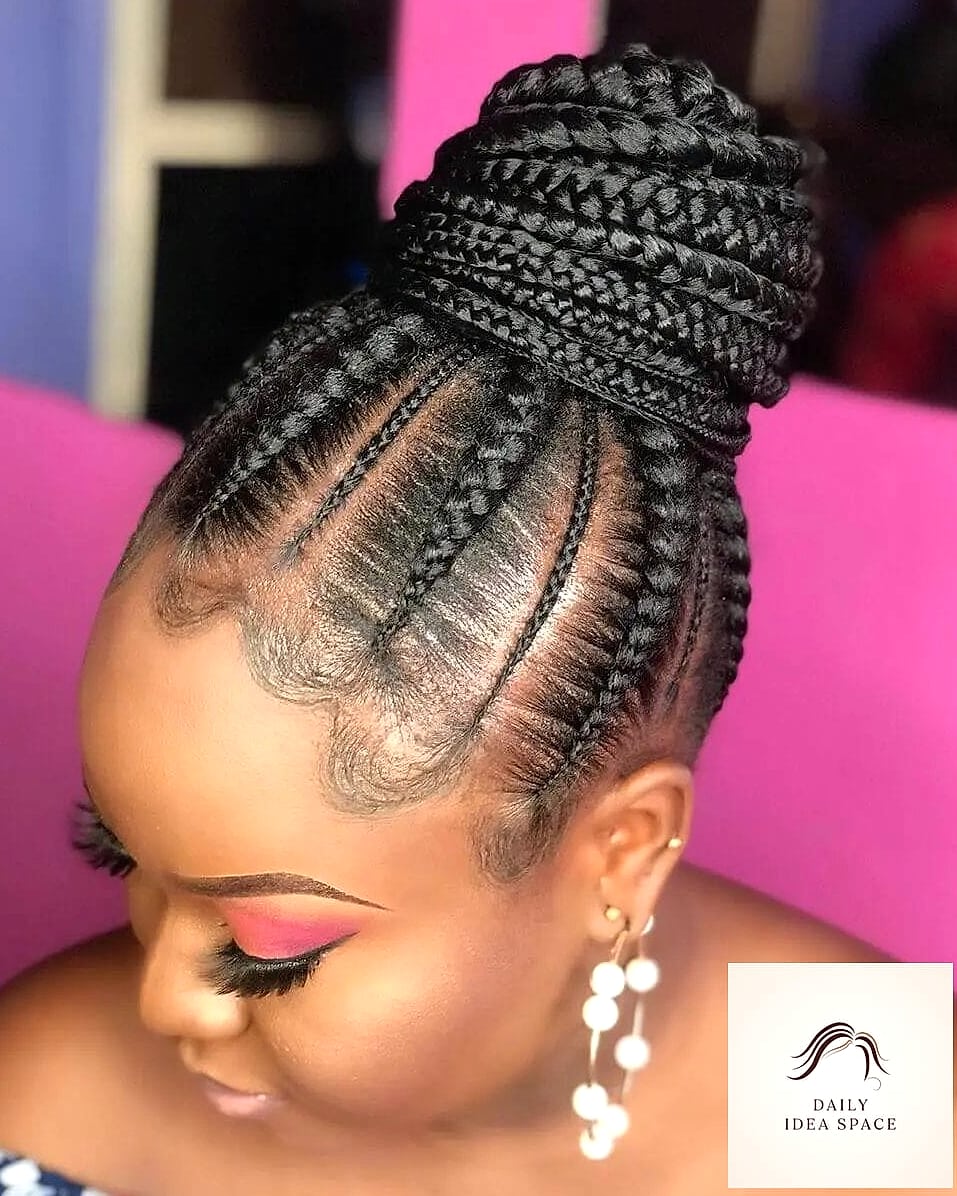
A twist on the half-up style, this one gathers the top braided section into a small bun instead of leaving it loose. It’s a cute, slightly more polished variation for everyday wear.
It’s especially practical if you want your hair off your face during the day but still want the option to let it down later.
Goddess Braids with Metallic Cuffs
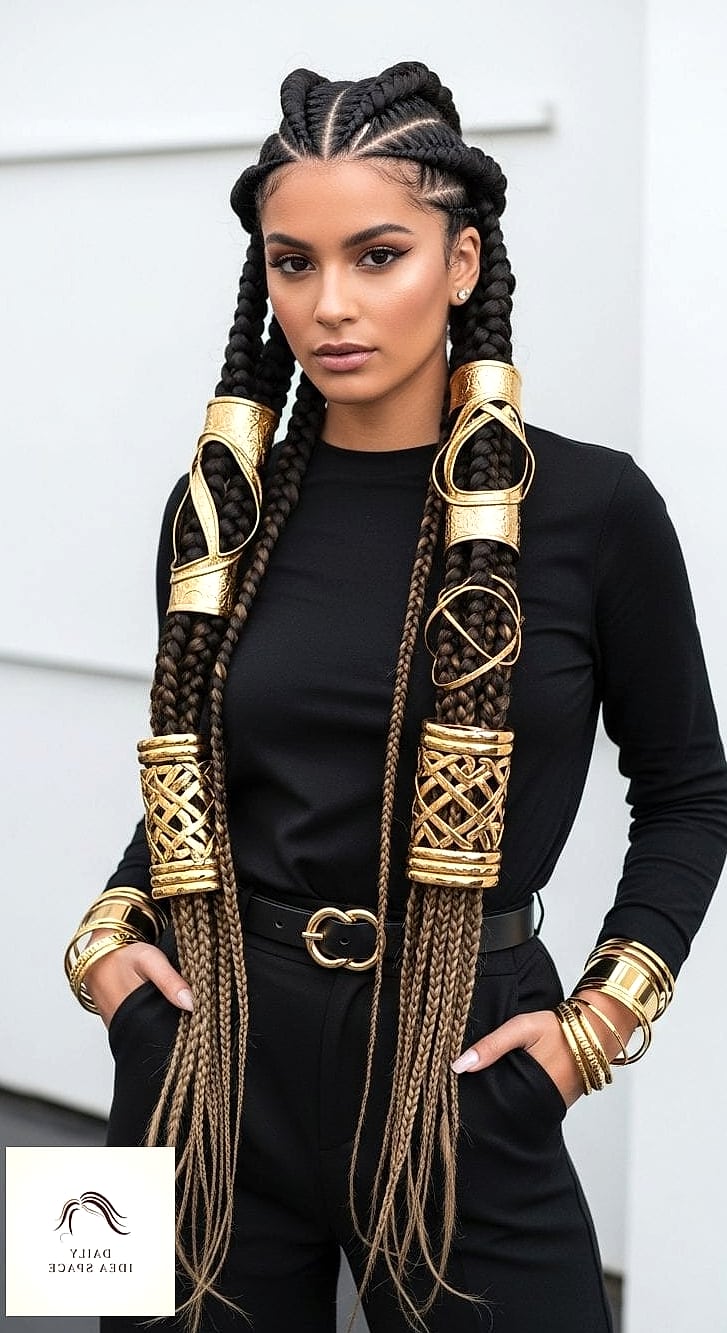
Adding a few gold or silver cuffs throughout your braids instantly makes the style feel more intentional and glam. You don’t need many, just two or three placed strategically can change the entire look.
This is an easy way to personalize a classic goddess braid style for a special occasion without changing the braiding pattern itself.
Goddess Braids with an Undercut Design
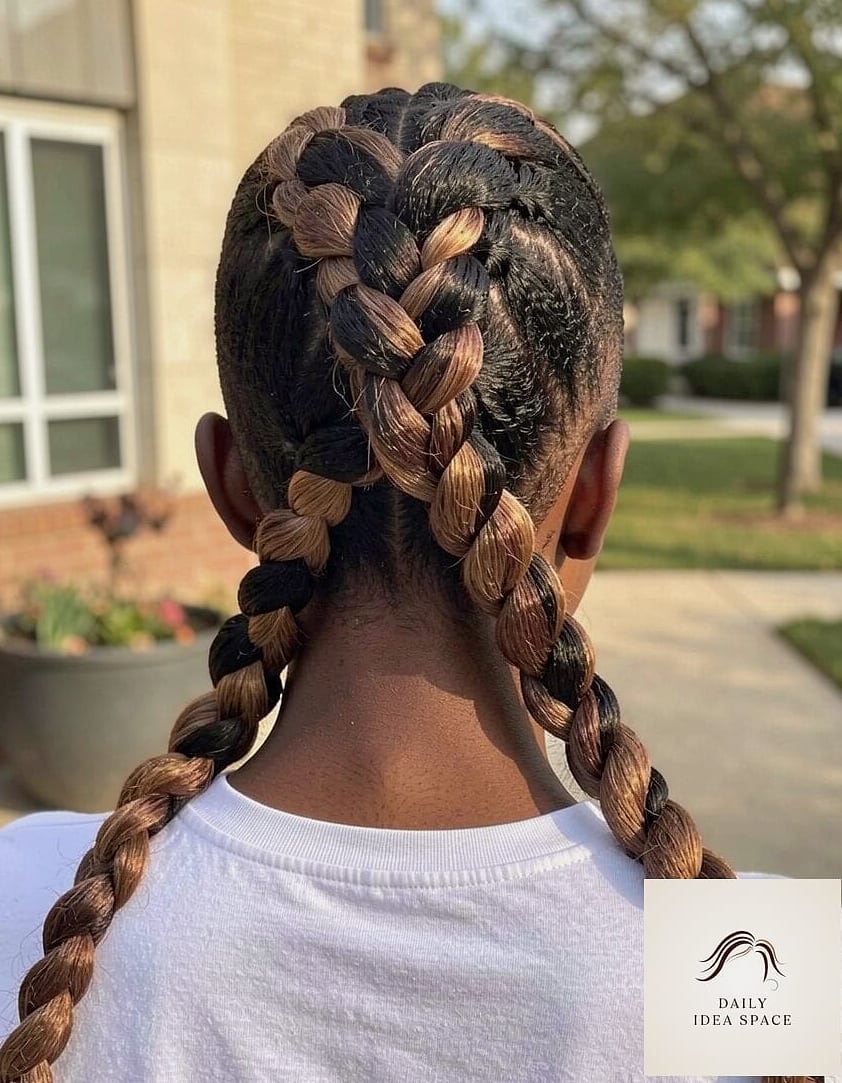
For something more artistic, ask your braider about incorporating a shaved design or undercut pattern near the nape before installing your braids. It’s a striking way to add texture that isn’t achievable with braiding alone.
This works best if you’re already comfortable with some hair being trimmed short, since the design needs to be visible once the braids are styled.
Long Goddess Braids Past the Waist

For serious length, extend your braids well past your shoulders and down toward your waist. It’s undeniably dramatic and makes a huge statement, especially for special occasions or photoshoots.
Just keep in mind that longer braids add more weight, so make sure your braider isn’t installing too tightly at the root to avoid unnecessary tension.
Goddess Braids with Face-Framing Pieces
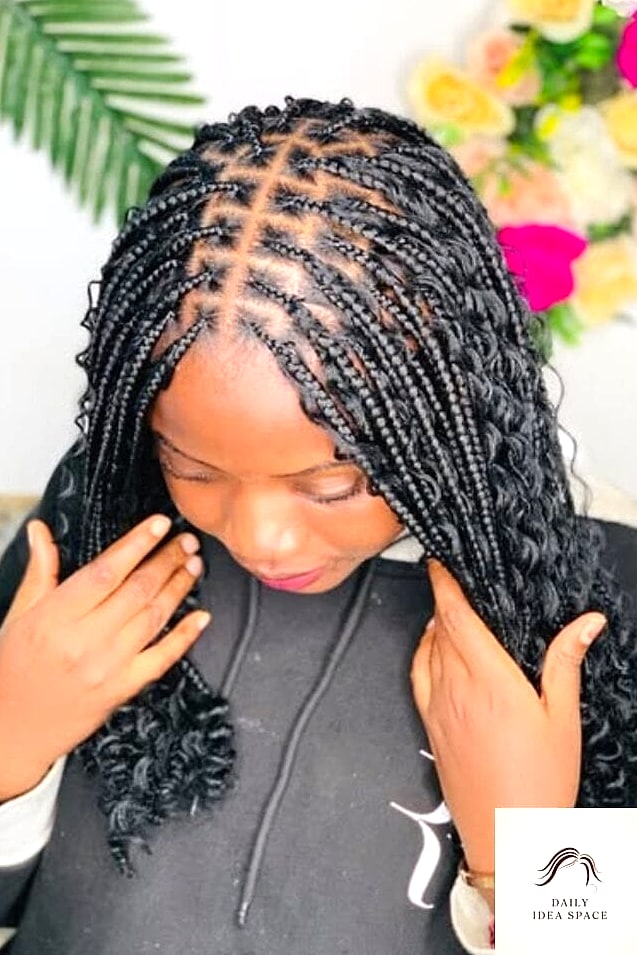
Leave two soft pieces out at the front to frame your face while the rest goes into braids. It’s a subtle touch that softens your features and adds a bit of movement near your cheekbones.
This is a flattering option for pretty much every face shape, since face-framing pieces are one of those universally forgiving styling tricks.
However you decide to wear them, goddess braids are one of those styles that reward a little patience with weeks of low-effort, high-impact hair. Bring a few photos to your appointment, talk through your hair type and lifestyle with your braider, and you’ll walk out with a version that feels like yours.