
24 Goddess Braids Ideas That Are Absolutely Stunning

- Goddess Braids
- Half-Up Goddess Braids
- Goddess Braids with a Bun
- Side-Swept Goddess Braids
- Jumbo Goddess Braids
- Goddess Braids with Curly Ends
- Feed-In Goddess Braids
- Goddess Braids with Beads
- Two Goddess Braids (Boxer Braids Style)
- Goddess Braids with Curtain Bangs
- Goddess Braids Ponytail
- Zigzag Part Goddess Braids
- Goddess Braids with Shaved Sides
- Half Cornrow, Half Loose Goddess Braids
- Goddess Braids Updo with Accessories
- Goddess Braids with an Undercut Design
- Goddess Braids with a Deep Side Part
- Goddess Braids with Loose Baby Hairs
- Chunky Goddess Braids with a Middle Part
- Goddess Braids with Ombre Extensions
- Goddess Braids with a Bubble Braid Twist
- Goddess Braids with a Slicked Back Finish
- Short Goddess Braids Bob
24 Goddess Braids Ideas That Are Absolutely Stunning
Goddess braids have been having a moment for years now, and honestly, I don’t see them slowing down anytime soon. There’s something about the way those thick, raised braids catch the light and frame your face that just feels regal. Whether you’re headed to a festival, a wedding, or just want a protective style that looks like you spent hours on it (even if you didn’t), goddess braids deliver every single time. I’ve pulled together 24 goddess braids ideas that are absolutely stunning, ranging from simple everyday looks to elaborate styles you’d save for a special occasion. Let’s get into it.
Goddess Braids
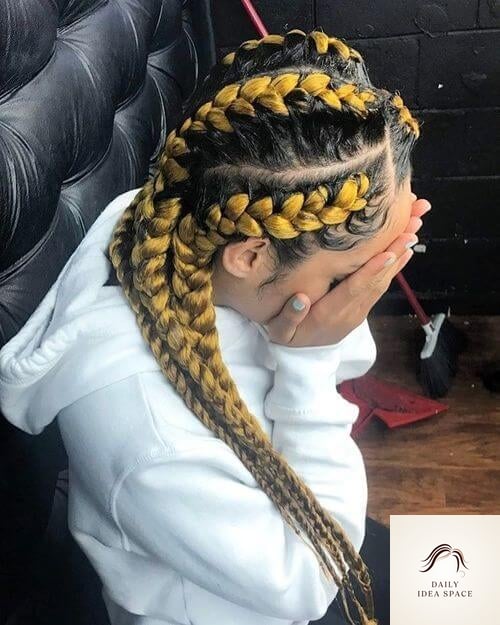
The classic goddess braid style features thick, cornrow-style braids that sit close to the scalp and often incorporate extensions for extra length and volume. They work beautifully on natural hair of any texture, though they tend to hold best on coily or curly hair. This look suits pretty much every face shape since you can adjust the parting pattern to flatter your features. Maintenance is fairly low once installed, lasting anywhere from two to six weeks with proper care at night using a satin bonnet or scarf.
Half-Up Goddess Braids

This version keeps a few braids pulled back into a half-up style while the rest flows loose or stays braided down. It’s a great option if you want the goddess braid look without fully committing to a full head of braids. Women with round or oval faces tend to love how it opens up the front of the face. You can dress it up with gold cuffs or beads woven through the top section for a bit of sparkle.
Goddess Braids with a Bun
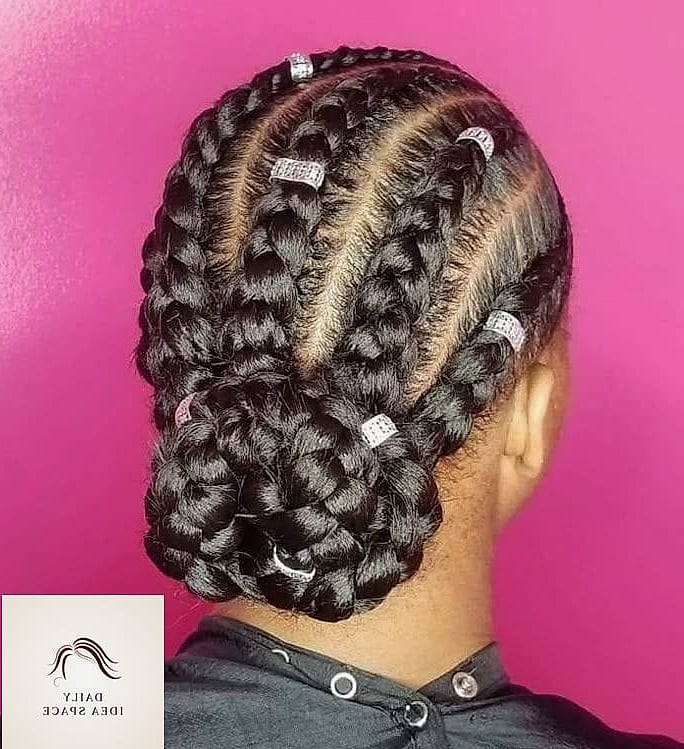
Gathering all your goddess braids into a low or high bun instantly transforms the style into something more polished. It’s perfect for work, a night out, or anywhere you want a neat, put-together vibe. This one works especially well for thick hair since the braids add natural volume to the bun itself. A few loose face-framing pieces left out near the temples soften the overall look.
Side-Swept Goddess Braids
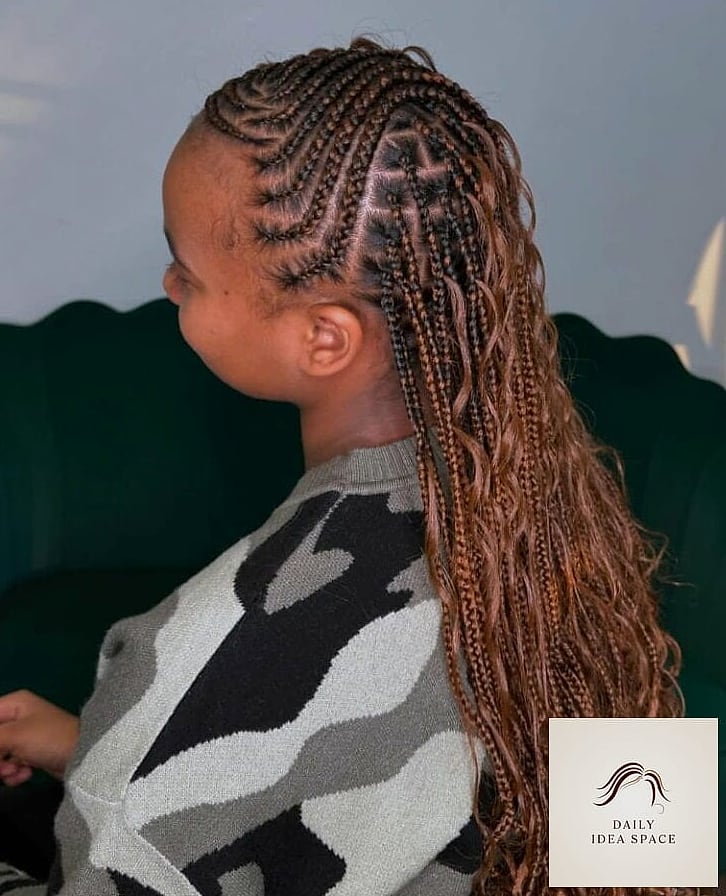
Instead of a traditional center or straight-back part, this style sweeps all the braids to one side of the head. It creates a really flattering asymmetry that draws attention to your cheekbones and jawline. This tends to suit longer face shapes especially well, since the diagonal lines break up length visually. It also just feels a little more effortless and undone, which I personally love.
Jumbo Goddess Braids
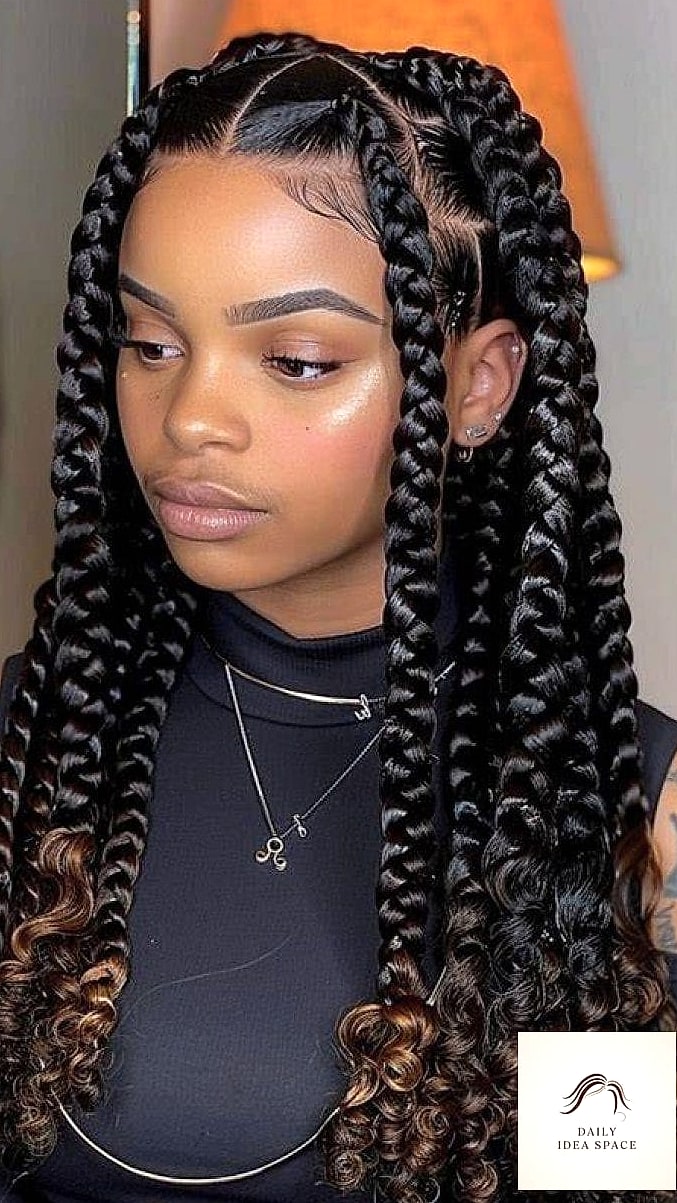
If you want maximum impact with minimum time in the chair, jumbo braids are the way to go. Larger sections mean fewer braids overall, which cuts down installation time significantly compared to smaller braid patterns. This style works great for fine or medium hair since the thickness of the braid itself creates volume. Just keep in mind jumbo braids may not last quite as long as their smaller counterparts.
Goddess Braids with Curly Ends
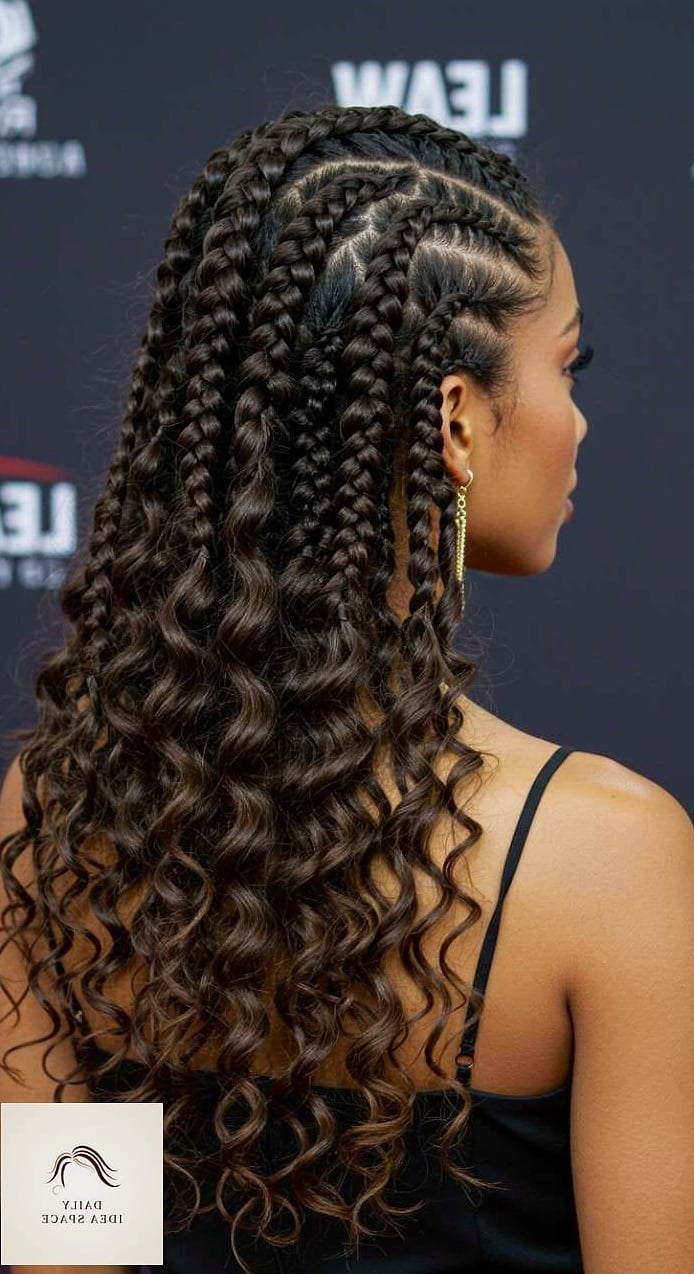
Instead of leaving the braided extensions straight, this variation lets the ends curl loosely for a softer, more romantic finish. It’s a lovely choice for anyone who wants goddess braids that feel a little more feminine and less structured. Curly ends work particularly well on wavy or curly natural hair textures where the transition feels seamless. You can achieve this look with pre-curled braiding hair or by curling the ends yourself with a wand.
Feed-In Goddess Braids
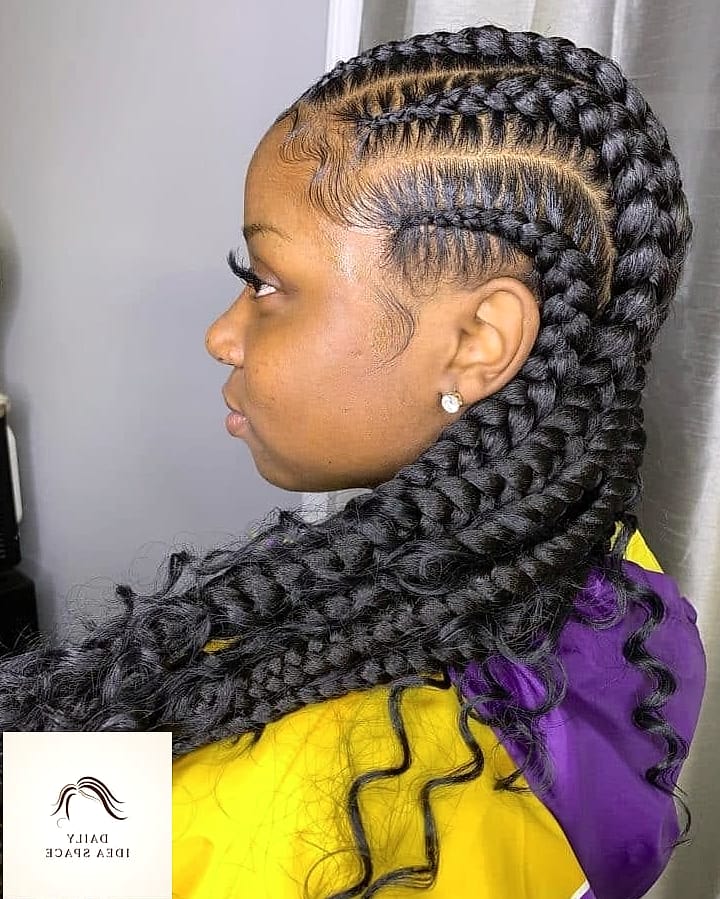
Feed-in braids gradually add hair as you go, which creates a much more natural-looking root and a smoother taper toward the scalp. This technique reduces tension on your hairline compared to traditional braiding methods. It’s a solid pick if you have a sensitive scalp or thinning edges you want to protect. The result looks incredibly seamless, almost like the braids are growing directly out of your head.
Goddess Braids with Beads
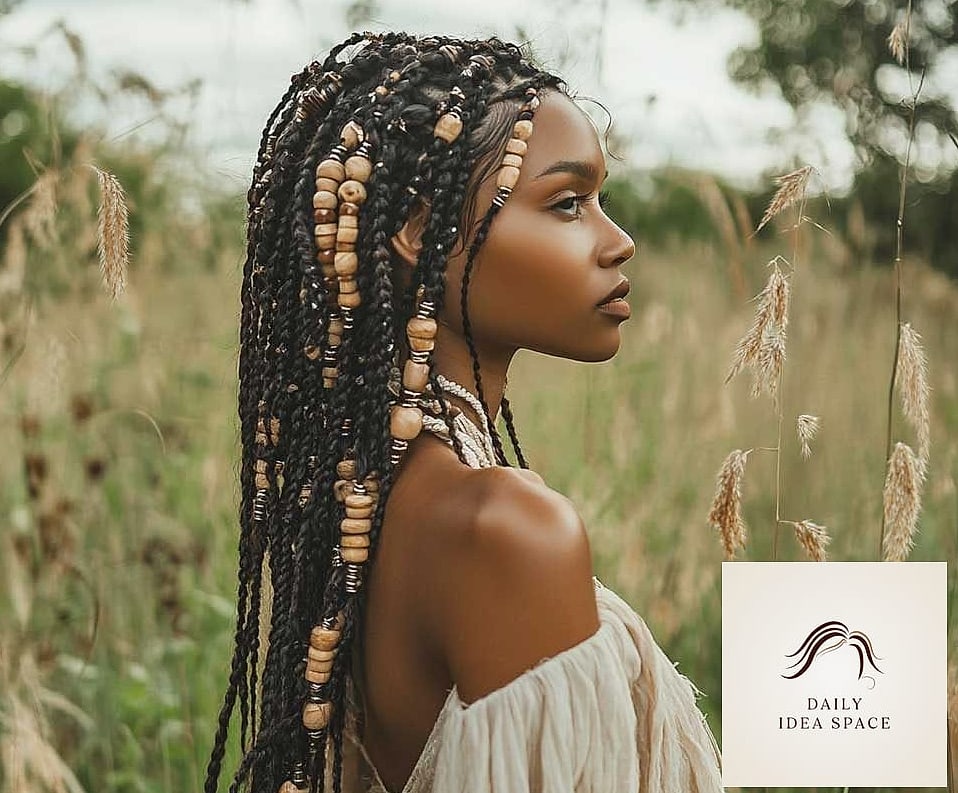
Adding wooden or metal beads to the ends of your braids brings a playful, textured element to the whole style. This look has deep roots in braiding traditions and still feels just as striking today. It suits pretty much any length, though longer braids give the beads more room to move and clink together as you walk. Just go easy on the number of beads if you’re not used to the extra weight.
Two Goddess Braids (Boxer Braids Style)

Sometimes simplicity wins, and two thick braids running from front to back is one of the most wearable versions of this style. It’s quick to install, easy to maintain, and works for literally any occasion from the gym to a casual brunch. This style flatters most face shapes, though a slight side part tends to be more universally flattering than a dead-center part. Tuck the ends under for a sleeker finish or let them hang loose for something more relaxed.
Goddess Braids with Curtain Bangs
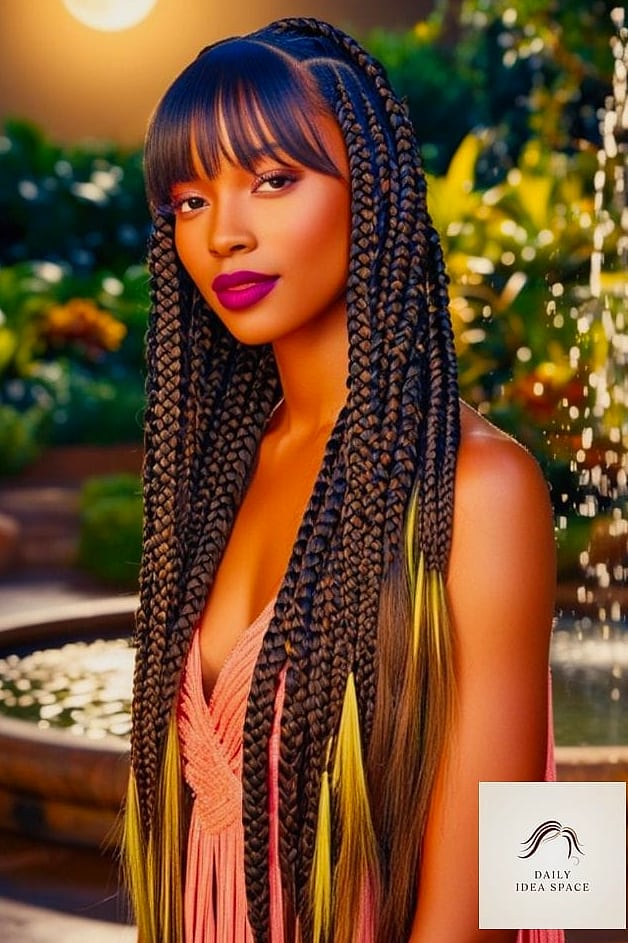
Leaving out a soft, curtain-bang section at the front while braiding the rest of the hair back gives this style a softer, face-framing quality. It’s especially flattering for square or heart-shaped faces since the pieces soften angular features. You’ll want to style the curtain bangs with a bit of curl or wave using a small barrel iron for the best effect. This combo feels a little more modern than traditional all-braided looks.
Goddess Braids Ponytail
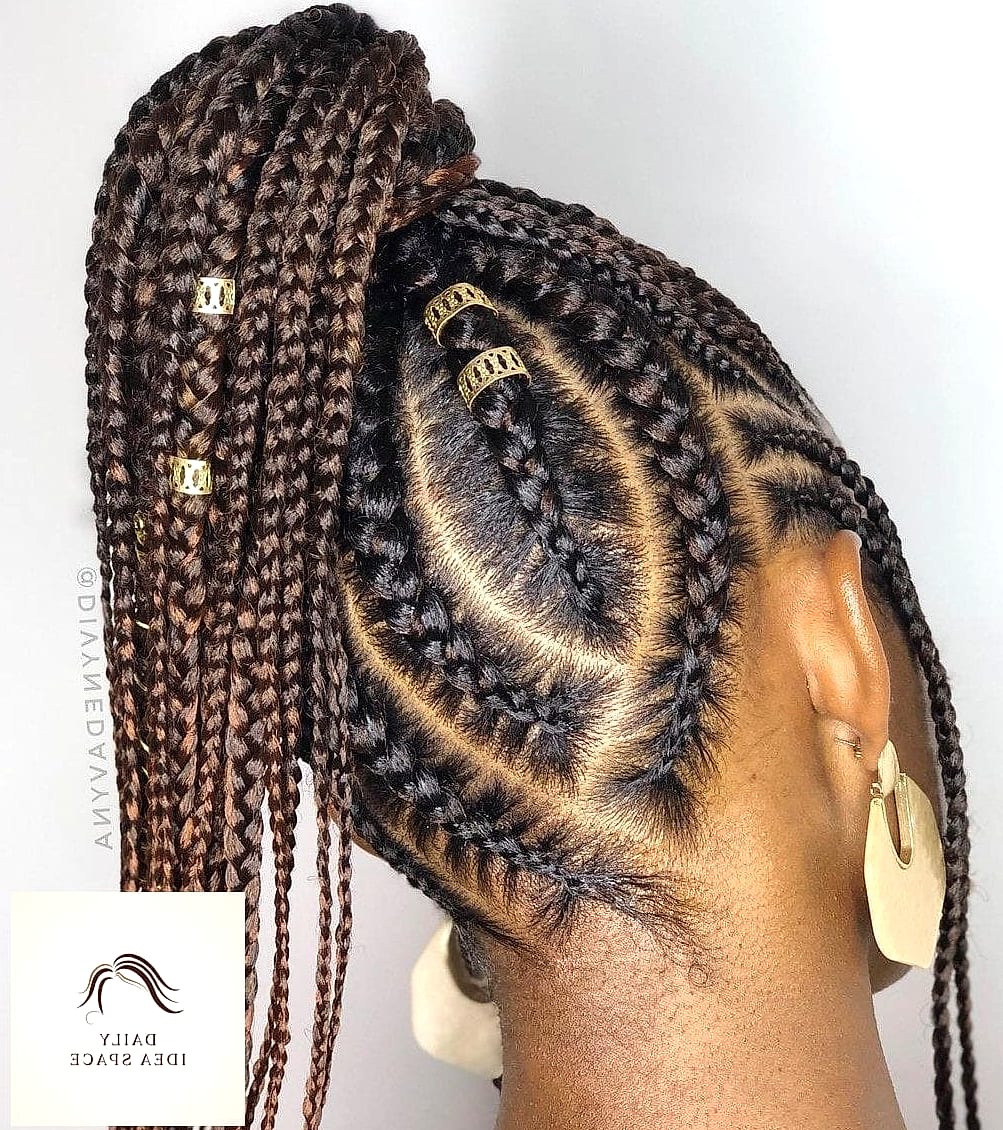
Gathering all your braids into a high, sleek ponytail is a fantastic option when you want length and drama. The elevated placement lifts the face and works wonderfully for anyone with a rounder face shape. Wrap a section of braided hair around the base to hide the elastic for a more finished look. This style also happens to be great for hot weather since it keeps hair off your neck.
Zigzag Part Goddess Braids
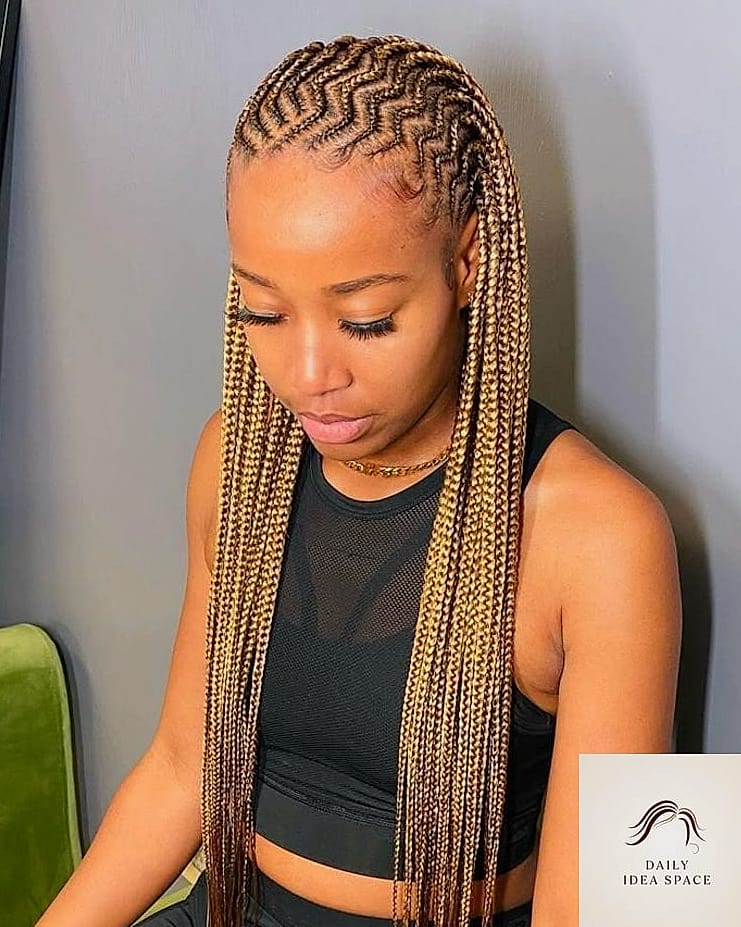
Swapping out straight parts for zigzag ones adds a subtle but noticeable difference to the overall pattern. It’s a small detail that makes the style feel more custom and less like a standard template. This works on any hair texture and length since it’s really just about how the sections are parted before braiding. It’s a favorite request among stylists who want to add a little extra flair without changing the braid size itself.
Goddess Braids with Shaved Sides
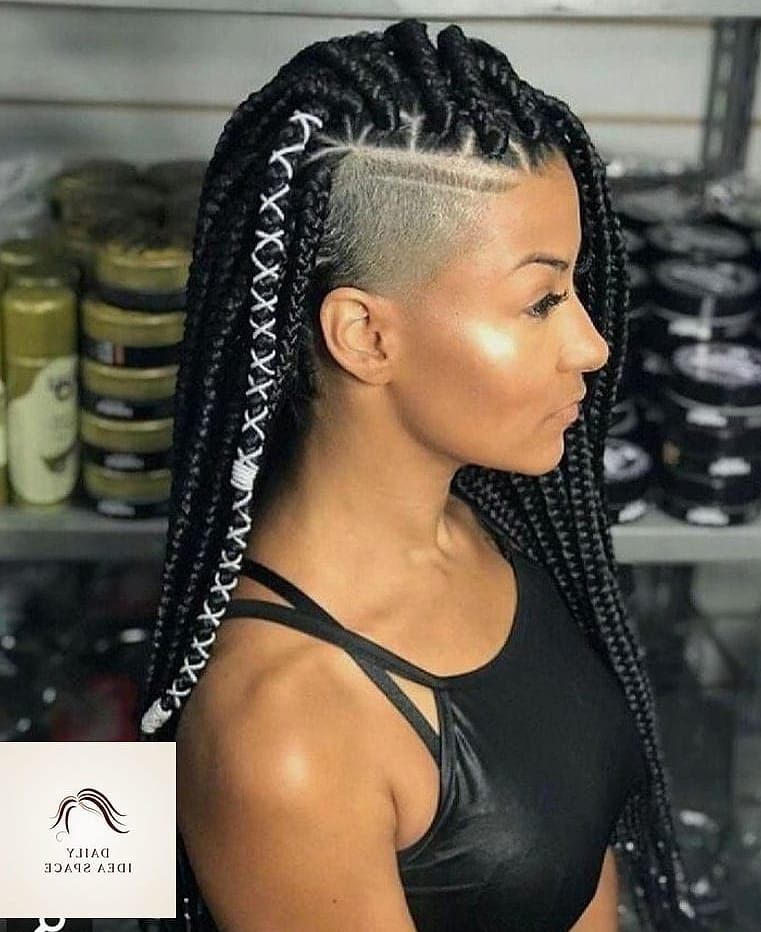
Combining goddess braids on top with shaved or closely cropped sides creates a bold, edgy contrast. This look tends to attract people who want something a little more daring and less traditional. It suits oval and heart-shaped faces particularly well since it highlights bone structure. Keep in mind this style requires more commitment since you’re altering your actual haircut, not just adding braids.
Half Cornrow, Half Loose Goddess Braids
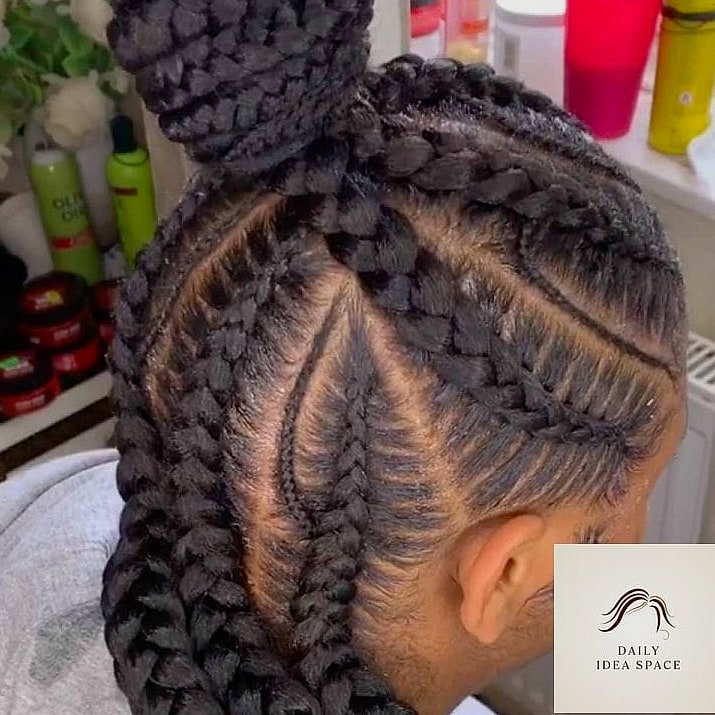
This style braids the front and crown sections into neat cornrows while leaving the back to hang in loose, flowing braids. It’s a nice middle ground between a fully structured look and something more relaxed. Thick hair benefits most from this style since the loose braids in back get plenty of volume. It also happens to be a comfortable choice if you find full cornrows too tight against the scalp.
Goddess Braids Updo with Accessories
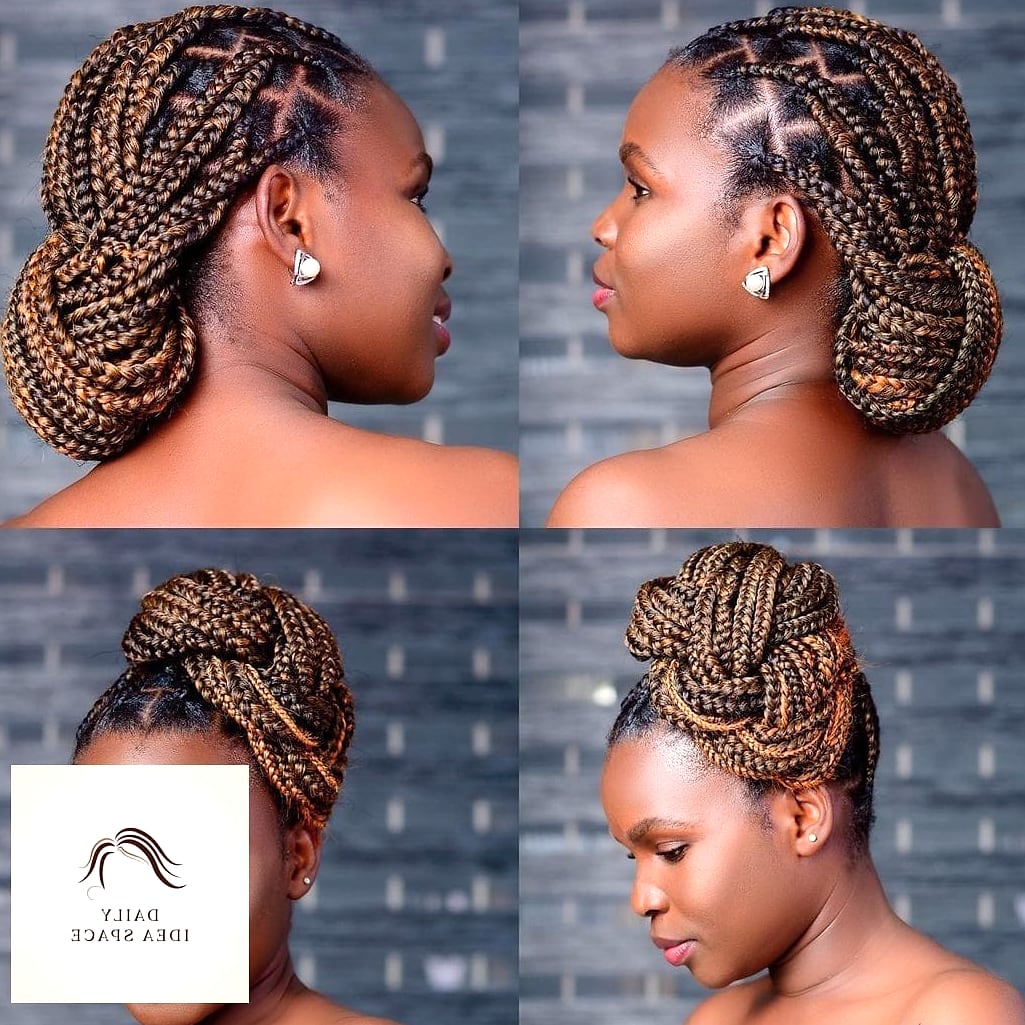
Pinning goddess braids up into an elaborate updo and adding hair jewelry, flowers, or decorative pins turns this into a true statement style. This is the one I’d recommend for weddings, proms, or any event where you want to feel like the most put-together person in the room. Gold hair chains draped across the braids add a particularly glamorous touch. Because it takes more time to style, this is best saved for occasions rather than everyday wear.
Goddess Braids with an Undercut Design
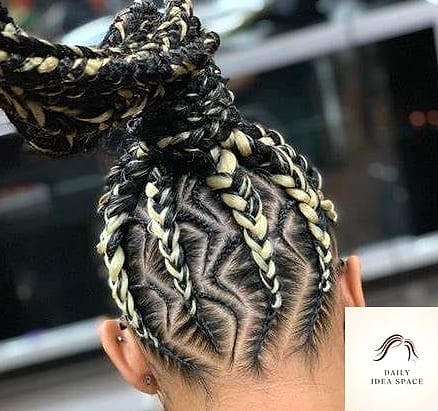
Shaving a design into the undercut portion before braiding the rest of the hair adds a really personal, artistic element to the style. This works best if you already have a stylist experienced in freehand shaving designs. It suits anyone who wants their hairstyle to feel like a genuine form of self-expression rather than just a trend. The design stays hidden most of the time and only shows when you wear the braids pulled up.
Goddess Braids with a Deep Side Part
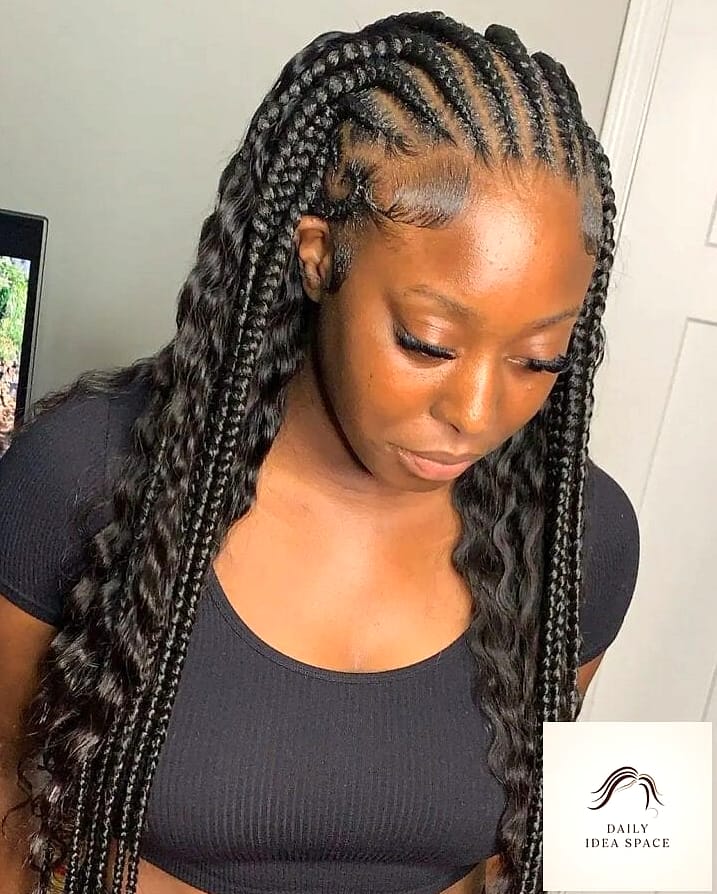
A deep side part changes the entire visual weight of the style, pulling more braids to one side than the other. This asymmetry tends to be really flattering across nearly every face shape, which is part of why it’s so popular. It also gives you the option to sweep braids over one shoulder for photos or nights out. This is a subtle tweak that makes a noticeable difference in how polished the style looks.
Goddess Braids with Loose Baby Hairs
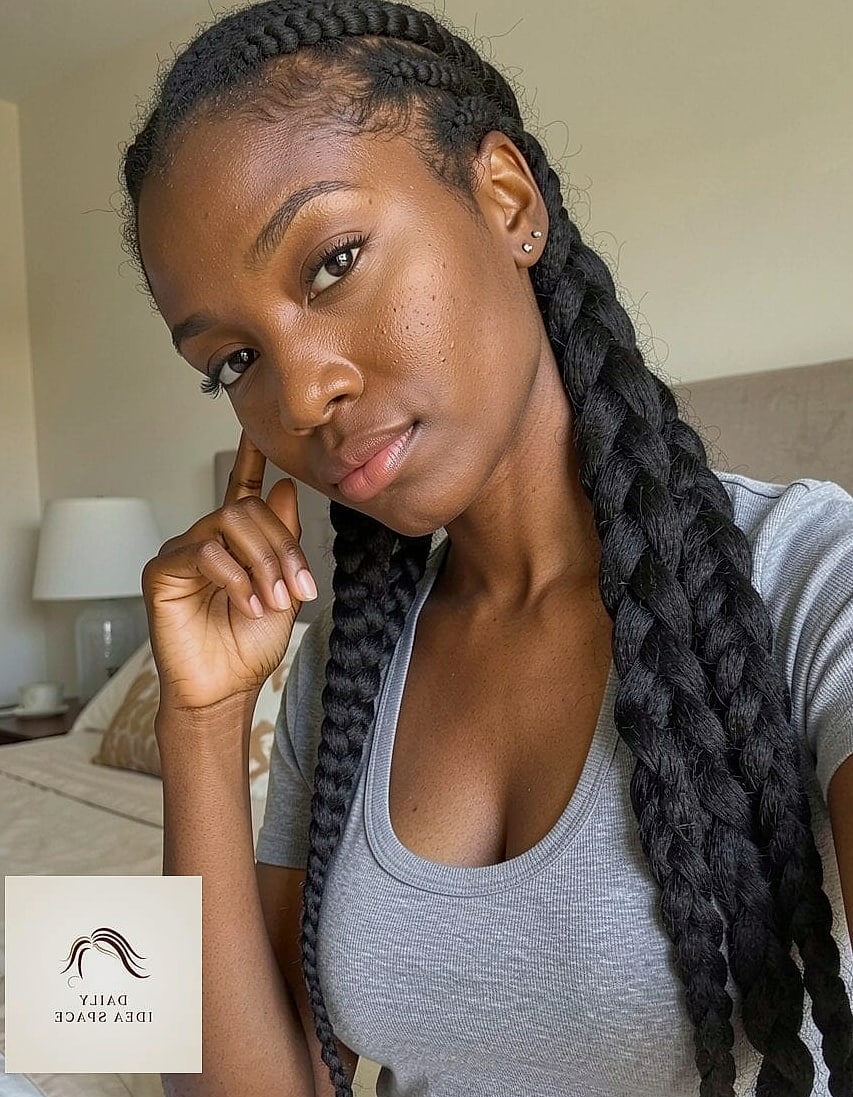
Leaving a few wispy baby hairs loose around the hairline softens the structured look of the braids themselves. Styled with a bit of edge control into swirls or waves, this adds a finished, salon-quality touch. It works especially well for people with naturally fine hair around the perimeter of their hairline. Just a small amount of product goes a long way here, so resist the urge to overdo it.
Chunky Goddess Braids with a Middle Part
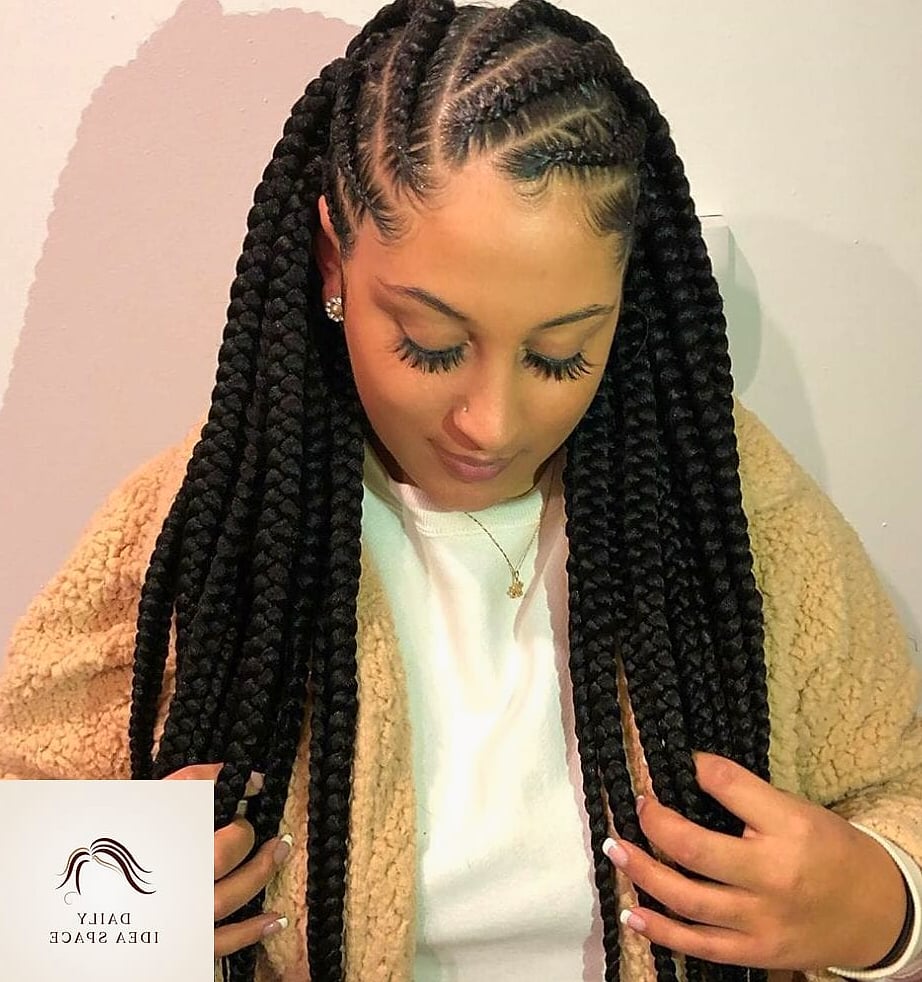
A clean middle part paired with a few extra-chunky braids creates a look that feels both bold and balanced at the same time. This suits oval and heart-shaped faces especially well since the symmetry draws the eye straight down the center. Fewer, thicker braids also mean less time in the chair compared to smaller braid patterns. It’s a great choice if you want maximum style with minimal installation time.
Goddess Braids with Ombre Extensions
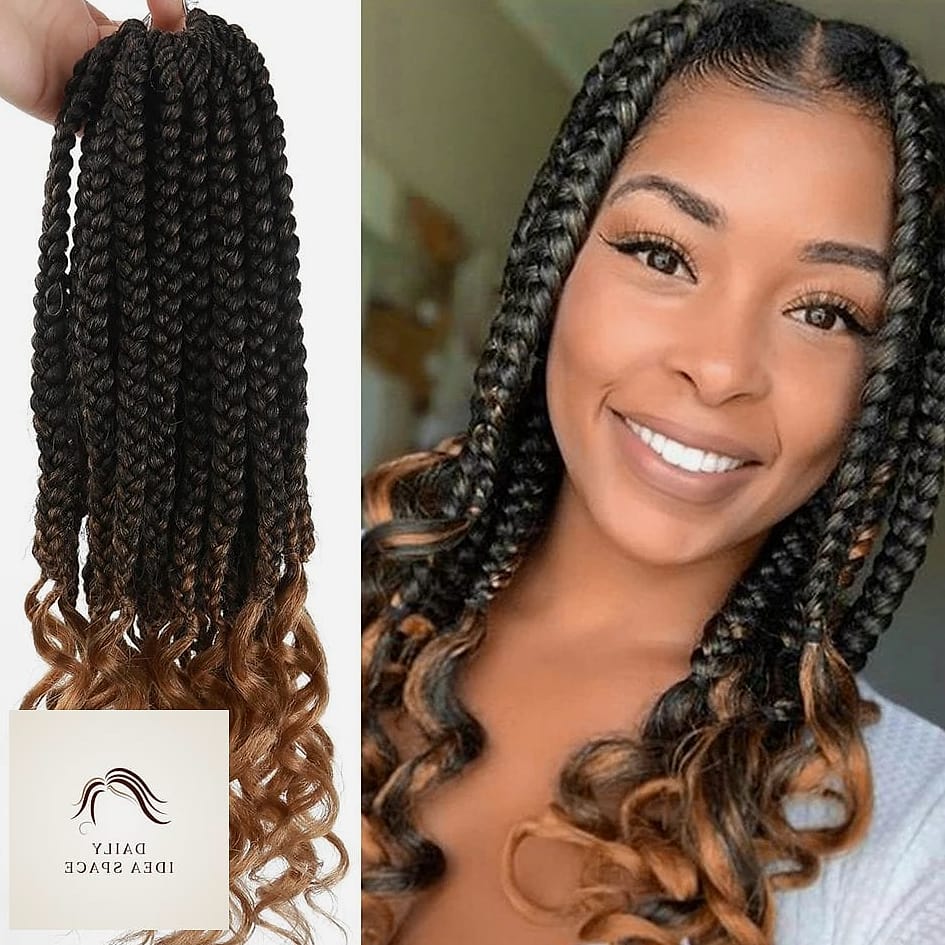
Using braiding hair that transitions from a darker root color to a lighter, warmer tone at the ends adds real dimension to the style. This works beautifully for anyone who wants a sun-kissed effect without touching their natural hair color at all. Honey blonde, caramel, and auburn tones tend to look especially rich against darker braiding hair. Since the color lives entirely in the extensions, there’s zero commitment or damage to worry about.
Goddess Braids with a Bubble Braid Twist
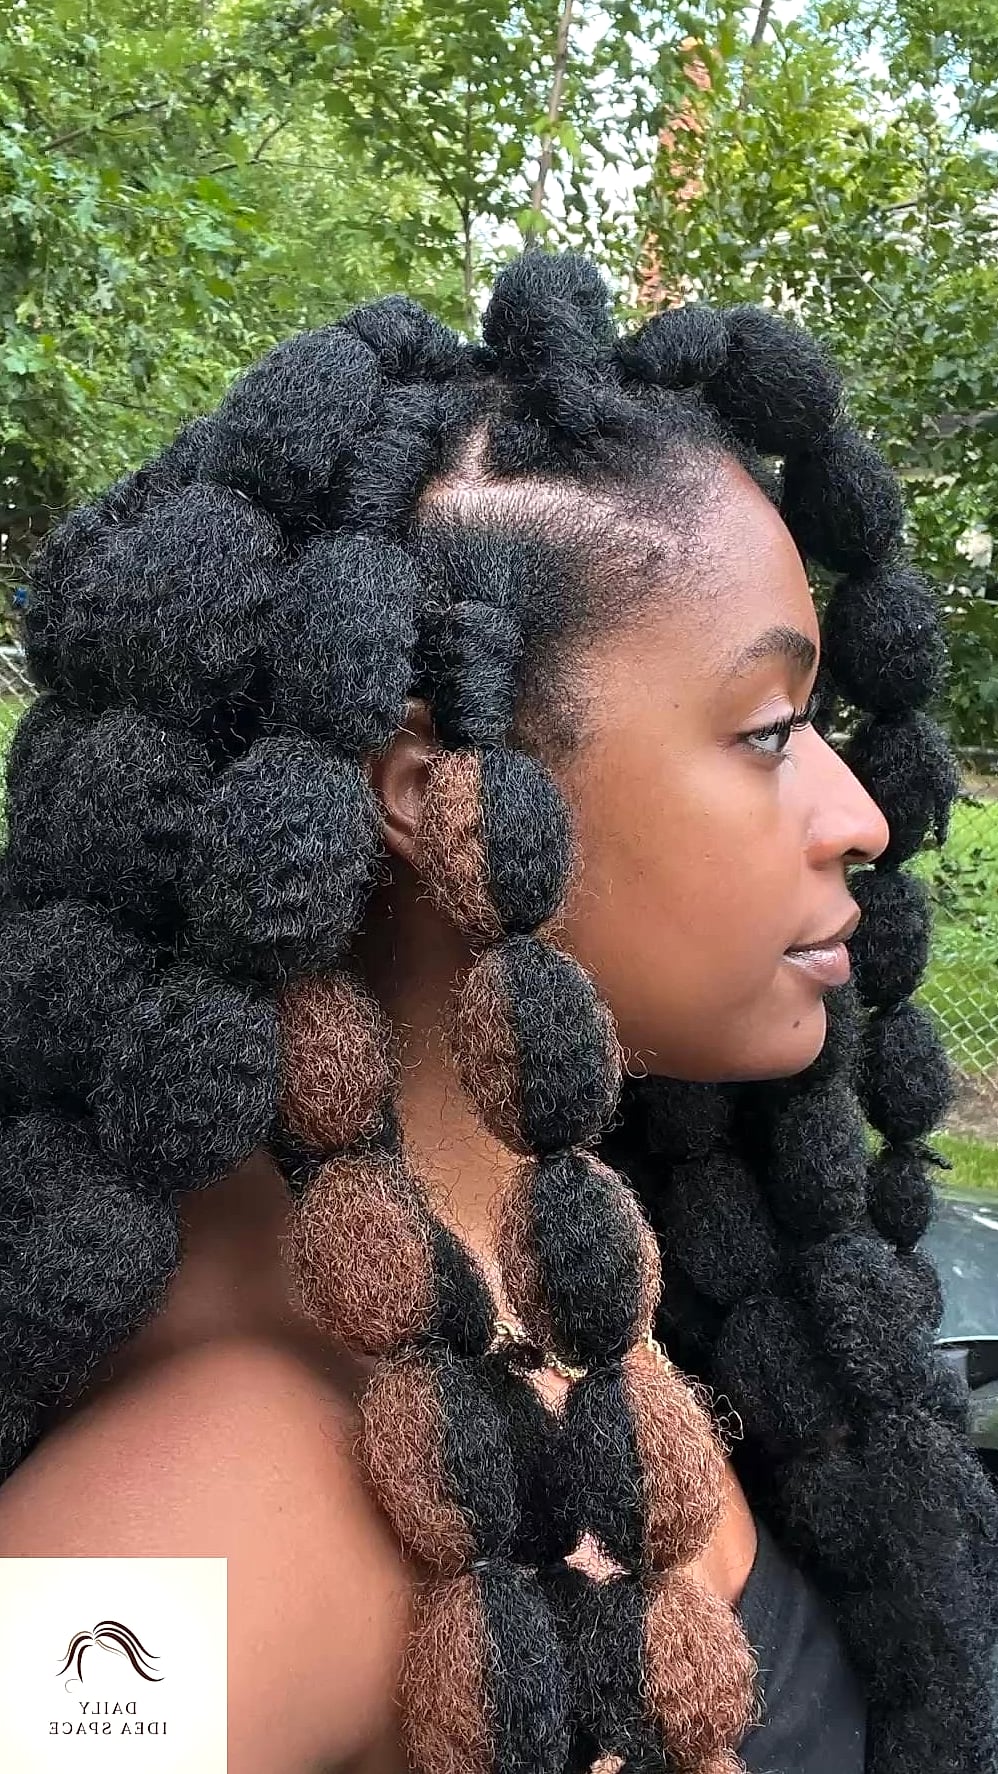
Adding small elastics along the length of a few braids to create a bubble effect gives this style a fun, textured variation. It’s an easy way to make your braids look a little different from the standard smooth pattern. This detail works particularly well on one or two accent braids rather than the entire head. Kids and teens especially seem to gravitate toward this playful spin on the classic style.
Goddess Braids with a Slicked Back Finish
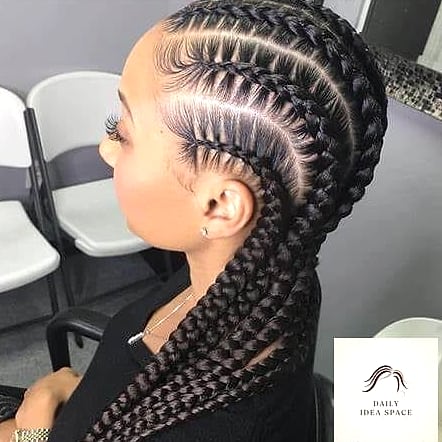
Using gel to slick down any flyaways along the hairline creates an ultra-clean, polished look that photographs beautifully. This finish suits pretty much everyone, though it tends to be a favorite among people with straighter natural hair textures who struggle with frizz. A light edge brush and some setting spray will keep everything looking sleek throughout the day. This is the version I’d pick for professional headshots or formal events.
Short Goddess Braids Bob
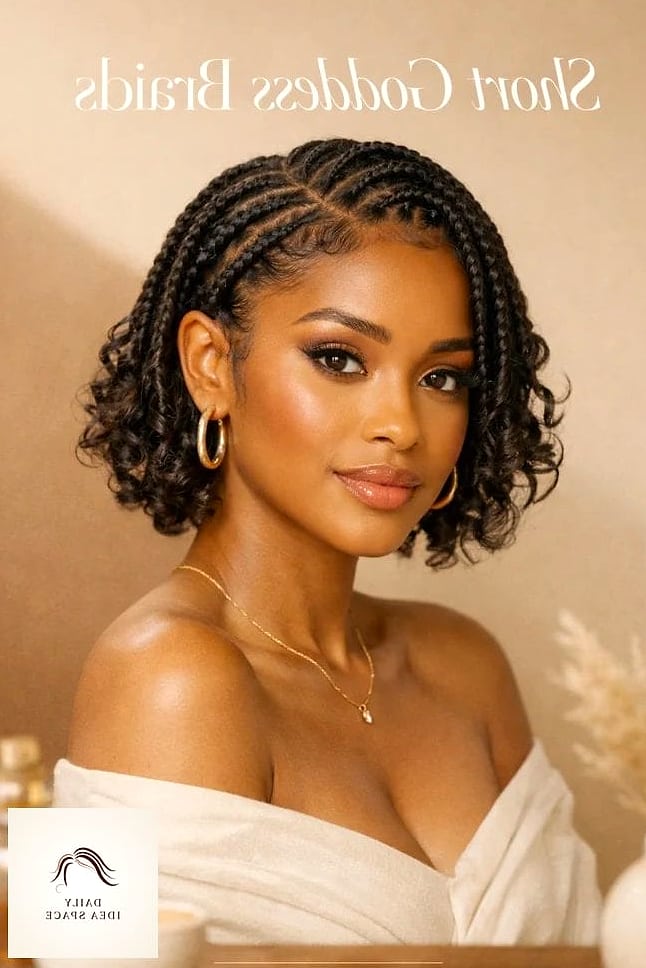
Goddess braids don’t have to be long. Keeping the braided extensions at a chin or shoulder length creates a fun, bouncy bob-style look. This is a great low-maintenance option for warmer months when you want a protective style without the extra weight of long braids. It suits nearly every face shape since bob-length styles are generally universally flattering. The shorter length also means less time spent taking the style down when you’re ready for a change.